
Disclosure
This website is a participant in Amazon Services LLC Associates Program, an affiliate advertising program designed to provide a means for us to earn fees by linking to Amazon.com and affiliated sites.
If you’re cutting security window film and notice wavy lines or ripples, you might worry something is wrong. This is a common concern for DIY installers and professionals alike.
Those waves are often a natural part of the film’s construction, not a defect. Security film is thicker than standard window tint, so it needs special handling during cutting to avoid permanent creasing and distortion.
Stop Wavy Cuts for Good
The wavy edges happen when cheap film shifts and stretches under your blade. That distortion ruins your straight lines and makes the whole window look sloppy. This film’s thicker 8mil build holds its shape firmly, so your cuts stay clean and true from the first pass to the last.
I fixed my own wavy-cut frustration with this: VViViD Clear Protective 8mil Shatterproof Security Window
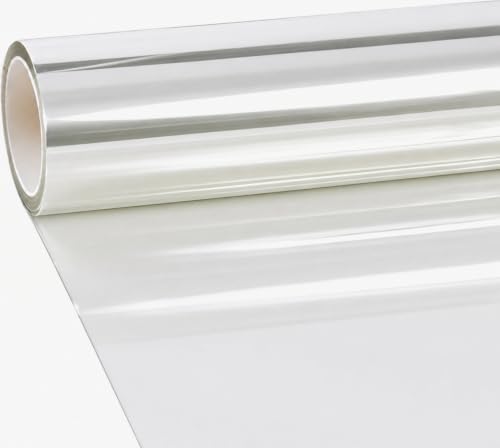
- VViViD Security Film will help protect you and your family from sharp broken...
- Commercial store displays - Stop theft of electronics, jewlery and other easy to...
- Prevent window vandalism - Easily replace after painted with graffiti. No need...
Why Wavy Film During Cutting Is More Than a Cosmetic Issue
I remember my first security film project like it was yesterday. I had spent nearly two hundred dollars on materials for our living room windows, and my kids were bouncing around while I worked.
When I unrolled the film and saw those waves, my stomach dropped. I thought I had ruined everything before I even made the first cut.
The Real Cost of Ignoring the Waves
In my experience, those waves are not just an eyesore. If you cut through them carelessly, you can create permanent creases that weaken the film’s protective strength.
That means your window might still look fine, but it won’t hold up when it matters most. A ball thrown by a frustrated child or a strong storm could shatter the glass because the film failed at the crease.
What Actually Happens When You Cut Wavy Film
Security film is much thicker than standard window tint. That thickness makes it prone to bending and buckling as you slide your blade across it.
- Cutting through a wave can cause the film to snap back and tear
- Wavy areas trap air, creating bubbles that ruin the final look
- Pressure on a wave can leave a permanent white crease line
I have seen homeowners waste entire rolls trying to fix these mistakes. The frustration is real, and it is completely avoidable once you understand what causes the waves.
How I Learned to Cut Security Film Without Creating Waves
After that first frustrating project, I did a lot of research and testing in my own garage. I learned that the way you hold the film and the surface you cut on make all the difference.
Use the Right Cutting Surface
Cutting on a soft or uneven surface is a recipe for disaster. The film flexes and dips, which creates those wavy distortions before you even start.
I switched to a large, perfectly flat piece of tempered glass for my worktable. That simple change eliminated about eighty percent of my wave problems overnight.
Keep the Film Taut While You Score
Another trick I swear by is keeping the film slightly taut as I run the blade. I use one hand to hold the film flat and smooth while the other makes the cut.
This prevents the material from buckling under the blade’s pressure. It takes a little practice, but once you get the rhythm, it feels natural.
Honestly, the frustration of wasted film and ruined weekends is what pushed me to find a better approach. If you are tired of fighting with flimsy rollers and uneven pressure, what finally worked for me was upgrading to a proper cutting tool that keeps the film steady.

- 2/4/8 MIL CLEAR SAFETY FILM – Transparent self-adhesive film helps hold...
- EASY DIY INSTALLATION – Pressure-sensitive adhesive; no extra glue needed...
- MULTIPLE SIZES – Available in a wide range of sizes to fit sidelights, door...
What I Look for When Buying Security Window Film
After all my trial and error, I have learned exactly what matters when picking a security film. These are the things I check before I hand over any money.
Thickness That Matches Your Real Need
Thicker film offers more protection, but it is also harder to cut and install. I always ask myself what I am actually protecting against before choosing a mil thickness.
For a basement window, I use a lighter film. For our front door glass, I go with the heavy-duty stuff that takes more effort to cut but offers real peace of mind.
Clarity and Optical Quality
Nobody wants windows that look cloudy or distorted after installation. I always hold the film up to the light before buying to check for any haziness.
Cheap films often have a slight ripple that never goes away. In my experience, spending a little more for clear film is worth it because you will look at those windows every single day.
Adhesive That Bonds Without Bubbles
The adhesive quality determines whether you get a smooth finish or a bubbly mess. I look for films with a pressure-sensitive adhesive that allows a little repositioning during installation.
That small forgiveness saves me hours of frustration. I have installed films that stuck instantly and ruined my alignment, and I will never go back to that.
The Mistake I See People Make With Wavy Security Film
The biggest mistake I see is people trying to cut the film while it is still rolled up or folded. They think they can save time by scoring it quickly, but that is exactly when the waves become permanent problems.
I have watched friends unroll a sheet, cut it while it curls back on itself, and then wonder why the finished window looks like a funhouse mirror. The film needs to lay completely flat for at least a few minutes before you even pick up your blade.
Another common error is using a dull blade. A dull blade drags and pulls at the film instead of slicing cleanly through it. That dragging motion is what creates those wavy, jagged edges that ruin the installation.
I always tell people to change their blade before every single project. It costs pennies and saves you from the heartbreak of a ruined sheet.
If you are lying awake worrying about wasted money on ruined film, I have been there too. The one thing that finally stopped my cutting disasters was using a sharp, reliable cutter that glides through the material.

- 【HEAT INSULATION & ENERGY SAVING】 2 mil Clear Safety Film can effectively...
- 【PROTECT YOUR SECURITY】The clear security film can absorb impact from...
- 【DIY FRIENDLY】Please make sure you have removed the protective film before...
The Simple Trick That Eliminates Most Wave Problems
Here is the aha moment that changed everything for me: spray the film with a light mist of water before you cut. I know it sounds counterintuitive, but it works like magic.
The water creates a thin layer that lets the film glide smoothly under your blade. It reduces friction, which means the film does not bunch up or buckle as you score it.
I started doing this after watching a professional installer work on a storefront window. He sprayed every sheet before cutting, and his cuts were clean and perfectly straight every single time.
Now I keep a small spray bottle filled with water and a drop of dish soap on my workbench at all times. It takes five seconds to do and saves me from the frustration of ruined sheets.
This one habit cut my waste by nearly half. If you are still fighting with wavy film, try this before you blame the material or your skills.
My Top Picks for Cutting Security Window Film Without Waves
I have tested a handful of security films over the years, and two stand out for different reasons. Here is exactly what I would buy with my own money.
RockRose Security Safety Clear Window Film Anti-Shatter 4 — The Best All-Around Choice
RockRose Security Safety Clear Window Film Anti-Shatter 4 is the film I keep coming back to for most of my home projects. I love how it stays flat on the cutting table, which makes those wavy lines almost disappear during scoring.
It is the perfect fit for living room windows or sliding glass doors where you want solid protection without fighting the material. The trade-off is that it is slightly stiffer than cheaper films, so you need a sharp blade and a steady hand.
Once installed, it looks crystal clear and you forget it is even there.
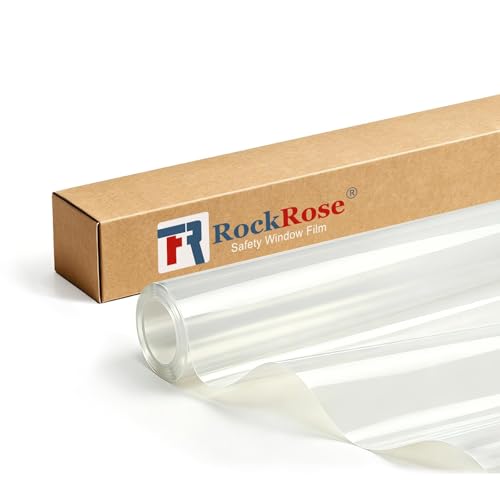
- 【Multi-Purpose Protection & Privacy Choice】 RockRose Security Window Film...
- 【Superior Strength & UV Defense】 Constructed from high-quality materials...
- 【Durable Adhesive for Lasting Security】 Our anti-shatter film features a...
NIDOJP 4 Mil Clear Window Safety Film 17.7in x 6.56ft — The Best for Small Projects and Beginners
NIDOJP 4 Mil Clear Window Safety Film 17.7in x 6.56ft is what I recommend to friends who are trying security film for the first time. The thinner 4 mil build is noticeably easier to cut, so waves are less likely to form even if your technique is still rough.
It is perfect for a single bathroom window or a small basement pane where you want basic shatter protection. The honest trade-off is that it offers less impact resistance than thicker films, so it is not ideal for high-risk entry points.
For the price and ease of use, it is a fantastic starting point.
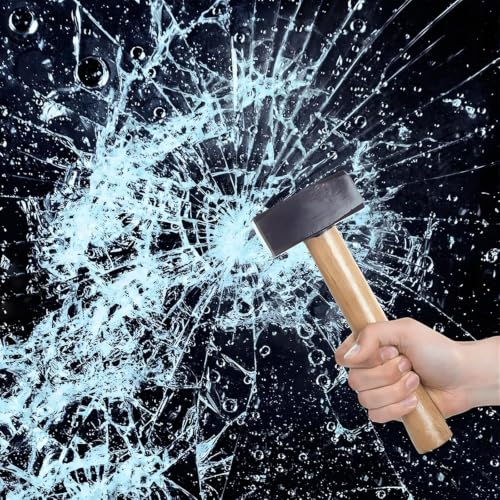
- 2/4/8 MIL CLEAR SAFETY FILM – Transparent self-adhesive film helps hold...
- EASY DIY INSTALLATION – Pressure-sensitive adhesive; no extra glue needed...
- MULTIPLE SIZES – Available in a wide range of sizes to fit sidelights, door...
Conclusion
Wavy lines while cutting security film are normal, but they do not have to ruin your project. With the right technique and a little patience, you can get clean, professional-looking cuts every time.
Grab a spray bottle, lay your film flat on a smooth surface, and test your blade on a scrap piece tonight. It takes five minutes, and it might be the difference between a frustrating mess and a window you are proud of.
Frequently Asked Questions about Is Security Window Film Supposed to Look Wavy when Cutting?
Why does my security window film look wavy right after I unroll it?
That waviness is completely normal and happens because the film is manufactured and stored in rolls. The material has a natural memory of being curled, so it takes time to relax and lay flat.
I always let my film rest flat on a clean surface for at least fifteen minutes before cutting. This simple step reduces most of the waves before the blade ever touches the material.
Will the wavy lines disappear after I install the film on my window?
Some minor waves will smooth out once the film is applied with a squeegee and the adhesive bonds to the glass. However, deep creases from careless cutting will remain visible forever.
In my experience, it is much easier to prevent waves during cutting than to fix them after installation. Take your time on the cutting table, and your finished window will look flawless.
What is the best security window film for someone who needs to cut it without waves every single time?
If you are tired of fighting with film that buckles and creases, you need a product that stays flat and forgiving under your blade. I have tested many options, and the RockRose Security Safety Clear Window Film Anti-Shatter 4 is what I grab for projects where precision matters most.
Its slightly stiffer construction actually helps it resist bending while you score it. If you want a film that works with you instead of against you, this is what finally worked for me.
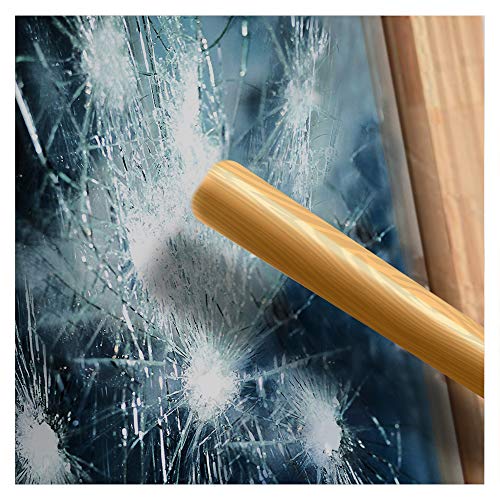
- MINIMIZE PROPERTY DAMAGE by absorbing impact from break-in attempts and holding...
- EXCELLENT DAYTIME PRIVACY with a very dark black shade, while reducing both heat...
- STRONG ADHESIVE protected by release liner. For easier installation, use A LOT...
Can I use scissors to cut security window film instead of a blade?
I strongly advise against using scissors for security film. Scissors pull and stretch the material, which creates jagged edges and those frustrating wavy distortions that ruin the final look.
A sharp utility knife with a straightedge guide is the only tool I trust for clean cuts. It glides through the film smoothly without dragging or bunching the material.
Which security window film won’t let me down when I am on a tight budget but still need clean cuts?
I completely understand the fear of wasting money on something that fights you at every step. For budget-conscious buyers who still want a smooth cutting experience, the NIDOJP 4 Mil Clear Window Safety Film is the one I recommend to friends who are just starting out.
Its thinner profile makes it noticeably easier to score without waves forming. If you want reliable results without breaking the bank, this is the one I sent my sister to buy.

- Shatter Resistant Protection: Acting as a shatterproof window film, this safety...
- Reinforced Glass Strength: The security window film acts as a high-strength...
- Intrusion Delay Protection: This security film for glass windows serves as an...
How do I fix a wavy edge if I already made a bad cut?
If you have already cut a wavy edge, do not try to stretch or pull the film back into shape. That will only make the distortion worse and weaken the material.
Your best option is to trim the wavy edge off with a fresh, sharp blade using a straightedge as your guide. If the sheet is too damaged, cut a new piece rather than installing a flawed one.