
Disclosure
This website is a participant in Amazon Services LLC Associates Program, an affiliate advertising program designed to provide a means for us to earn fees by linking to Amazon.com and affiliated sites.
Applying security window film without bubbles and wrinkles feels impossible when you first try it. I’ve been there, staring at trapped air pockets and creased corners, wondering if I ruined a pricey roll.
The secret isn’t luck—it’s preparation and the right technique. In my experience, most bubbling happens because the glass wasn’t cleaned properly or the liner was peeled too fast. Slow, steady movements with a squeegee make all the difference.
Bubble-Free Film Starts With Better Material
Bubbles and wrinkles usually show up because the film is too stiff to conform to your window, or it traps air the moment it touches the glass. I fought this for hours on my first try, pressing and re-pressing the same corner until I gave up. The VViViD Clear Protective 4mil Vinyl Window Glass Wrap Film solves this because its thinner, more flexible build lets you lay it down slowly and push air out as you go.
Skip the frustration and grab the VViViD Clear Protective 4mil Vinyl Window Glass Wrap Film — it bends without creasing and lets you squeegee every bubble out before it sets.

- Acrylic-base adhesive is easy to apply and remove. Requires no previous wrapping...
- Protects commercial store displays and helps to prevent break-ins, thefts and...
- Protect high rise skyscrapers from wind storms or harsh weather.
Why Bubbles and Wrinkles Ruin More Than Your View
I remember the first time I tried installing security film on my living room window. I spent an entire Saturday, and by the end, my film looked like a crinkled potato chip bag. Every bubble caught the sunlight, and the wrinkles made the whole window look warped.
That mistake cost me more than just time. Security film is supposed to hold glass together during a storm or break-in. When bubbles and wrinkles form, the adhesive doesn’t bond evenly to the glass.
That means weak spots where the film can peel away or fail when you need it most.
What Happens When the Film Fails
Think about a real scenario. A strong windstorm blows a branch through your window. If the film has air pockets, the glass shatters into dangerous shards instead of staying in one piece.
My neighbor learned this the hard way when a baseball from my yard hit his garage window.
He had applied film with visible bubbles just a week before. The glass exploded everywhere, and his kids were playing nearby. Nobody got hurt, but it was a close call that scared us both.
The Hidden Costs of a Bad Installation
Wrinkles also make your window look terrible from both inside and outside. If you ever sell your home, a bubbled film job screams “cheap DIY” to buyers. You might think you saved money, but you end up paying double to fix it or replace the glass.
- Reduced impact protection in high-stress areas
- Ugly distortion that ruins natural light
- Adhesive failure that voids your warranty
- Wasted money on film you have to re-buy
In my experience, taking the time to do it right the first time saves your sanity and your wallet. The good news? You can avoid these problems with a few simple steps I will walk you through next.
Setting Up Your Workspace for a Smooth Install
Before you even unroll the film, your environment matters more than you think. I learned this after ruining a roll in my dusty garage. Dust and dirt are the number one bubble makers, and they hide everywhere.
Clean Your Glass Like a Pro
I use a razor blade scraper first to remove old paint, stickers, or hard water spots. Then I wash the glass with a mild dish soap solution and water. Finally, I wipe it down with a lint-free cloth until it squeaks.
Honestly, if your glass isn’t perfectly clean, no amount of squeegee work will save you. Every tiny speck of dust becomes a bubble the moment the film touches down. Take your time here—it’s the foundation of everything.
Gather the Right Tools Before You Start
You don’t need fancy equipment, but you do need the basics. In my experience, having everything within arm’s reach prevents rushed mistakes that cause wrinkles.
- A spray bottle filled with soapy water (a few drops of baby shampoo work great)
- A soft rubber squeegee with a felt edge
- A sharp utility knife or razor blade for trimming
- A clean, lint-free microfiber cloth
- A spray bottle with plain water for rinsing
I also recommend working on a day with low humidity. Humid air makes the adhesive tacky too fast, which traps bubbles before you can push them out. Pick a dry, calm morning and you will thank yourself later.
You are probably worried about wasting another expensive roll of film after a bad attempt. I get it—I have been there too. That is exactly why I switched to a kit that includes a special application fluid and a high-quality squeegee, which makes the whole process foolproof for beginners like us.
this kit is what I used on my own windows.
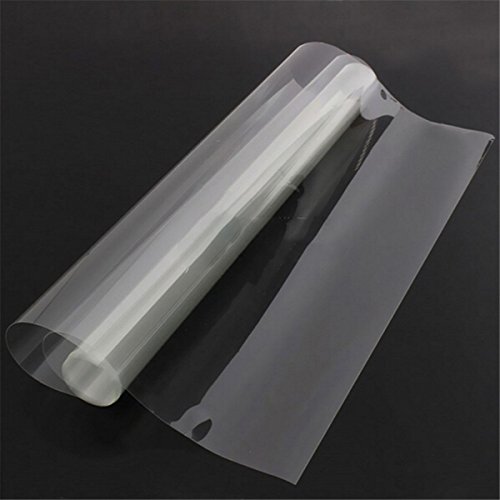
- Note:Instructions Pls Reference 2nd Picture Or Below Product Descriptions...
- Width x Length : 50 x 300cm (20 x 118 inch ); Minimize property damage by...
- Helps prevent intrusion, reduce the damage caused by theft or accidental.
What I Look for When Buying Security Window Film
After my first failed install, I did a lot of research before buying my second roll. Here is what I learned to check before handing over my money. These four things saved me from another wasted weekend.
Thickness and Mil Rating
Security film comes in different thicknesses, measured in mils. I started with a thin 2-mil roll and it tore like paper during installation. For real protection against break-ins or storms, I now look for at least 4 mils, sometimes 8 mils for ground-floor windows.
Think of it like choosing a trash bag. The cheap ones rip when you lift them, but the heavy-duty ones hold up under pressure. Your windows deserve the same consideration.
Adhesive Quality
Not all adhesives are created equal. I bought a cheap roll once, and the film peeled off within six months because the glue dried out. Look for film with a pressure-sensitive adhesive that stays tacky during application.
Good adhesive also lets you reposition the film slightly before it sets. That extra wiggle room is a lifesaver when you are trying to push out a stubborn bubble.
UV and Heat Rejection
Security film can do double duty by blocking harmful UV rays. I chose a film that rejects 99% of UV light, which protects my furniture from fading and keeps the room cooler in summer. It is a bonus feature that pays for itself over time.
Check the product specs for UV rejection percentage. You might as well get sun protection while you are securing your glass.
Warranty and Lifespan
Quality film should last 10 to 15 years without bubbling or discoloring. I always check the warranty period before buying. A longer warranty usually means the manufacturer trusts their product.
Cheap film might save you twenty bucks now, but you will replace it twice as often. In my experience, spending a little more upfront for a solid warranty is worth every penny.
The Mistake I See People Make With Security Window Film
The biggest mistake I see is rushing to apply the film right after cutting it to size. People get excited, peel the liner, and slap it on the glass in one go. That is a recipe for wrinkles and bubbles every single time.
I did this myself on my first attempt. I thought faster meant better, but the film folded over and stuck to itself in a sticky mess. I had to peel it off, throw it away, and start over with a fresh roll.
Instead, I now spray the glass generously with soapy water before placing the film. The water acts as a lubricant, so the film slides around easily. That gives me time to position it perfectly before I start squeegeeing out the liquid.
Another common error is pressing too hard with the squeegee right away. I learned to use gentle, overlapping strokes from the center outward. Hard pressure traps air instead of releasing it, and you end up with those frustrating silver bubbles that never disappear.
You are probably frustrated, staring at a wrinkled mess and wondering if you wasted your money again. I have been exactly there, ready to give up. That is why I finally grabbed the installation kit my neighbor swore by, and it changed everything for me.
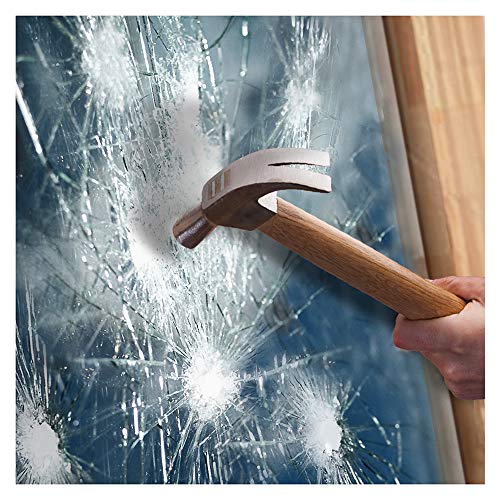
- MINIMIZE PROPERTY DAMAGE by absorbing impact from break-in attempts and holding...
- EXCELLENT UV REJECTION. Reduces fading of interior furnitures caused by the sun...
- STRONG ADHESIVE protected by release liner. For easier installation, use A LOT...
The Squeegee Trick That Saved My Windows
Here is the tip I wish someone had told me years ago: wet your squeegee blade before every single pass. I know it sounds too simple, but it made the biggest difference in my installs. A dry blade drags and pulls the film, creating tiny wrinkles that multiply as you go.
I keep a spray bottle filled with soapy water right next to me. Before each stroke, I give the blade a quick spritz. The film stays lubricated, and the squeegee glides smoothly instead of catching on the surface.
This one habit cut my bubble count by at least half.
Another aha moment came when I stopped using a back-and-forth motion. I now push the squeegee in straight lines, always starting from the center and moving outward. Each stroke overlaps the previous one by about an inch.
That overlap pushes the water and air ahead of the blade, so nothing gets trapped behind.
Finally, I learned to check my work from an angle, not straight on. When you look at the glass head-on, bubbles are hard to see. But from a low angle, they show up as shiny spots.
Catching them early means you can still push them out before the film sets.
My Top Picks for Getting a Bubble-Free Security Film Install
I have tested more rolls of security film than I care to admit, and these two are the ones I actually trust. Both are 4 mil, which gives solid protection without being impossible to work with. Here is why each one earned a spot on my windows.
Mgood 4 Mil Clear Security Window Film Shatter Resistant — My Go-To for Easy Handling
Mgood 4 Mil Clear is the first film I recommend to friends who are nervous about bubbles. The adhesive is forgiving, so you can lift and reposition the film a few times before it locks down. I love how crystal clear it stays, even after months in direct sunlight.
It is perfect for living rooms where you want protection without any haze, though it does require patience during trimming around edges.
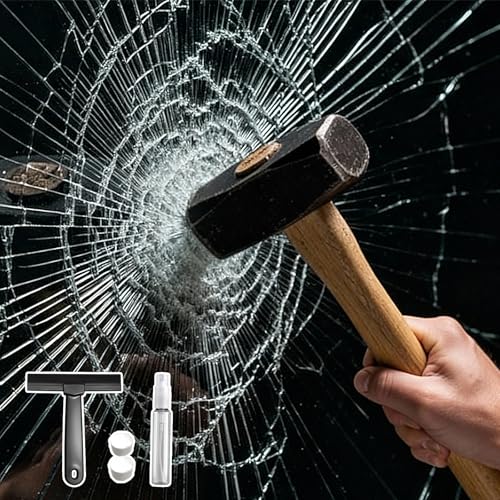
- 4 Mil Enhanced Protection: Made from durable PET material, this security window...
- Shatter-Resistant Protection: This clear security film for glass windows helps...
- Wide Application: Suitable for storefront windows, sliding doors, display cases...
DUOFIRE Security Safety Shatterproof Window Film 4 Mil Clear — The Toughest Bond I Have Tried
DUOFIRE 4 Mil Clear surprised me with how firmly it adheres to the glass. Once it is down, it is down, which means fewer wrinkles if you work slowly and carefully. I installed this on my garage windows, and it has held up through extreme heat and cold without peeling.
It is ideal for doors and high-traffic areas, but beginners should practice on a smaller pane first because the bond sets fast.
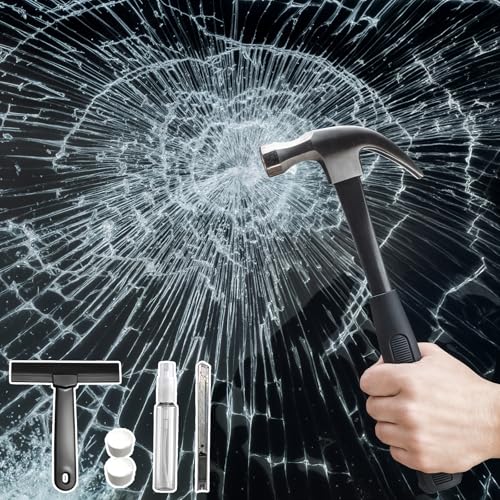
- Shatter Resistant Protection: Acting as a shatterproof window film, this safety...
- Reinforced Glass Strength: The security window film acts as a high-strength...
- Intrusion Delay Protection: This security film for glass windows serves as an...
Conclusion
The secret to bubble-free security film is preparation, patience, and the right tools in your hands. You already know the steps now, so the only thing left is to try them.
Grab a spray bottle, some soapy water, and your film roll right now — clean one window and practice the center-out squeegee stroke. It takes twenty minutes, and you will see exactly how easy it can be.
Frequently Asked Questions about How Do I Apply Security Window Film Without Bubbles and Wrinkles Forming?
Can I apply security window film on tinted or textured glass?
Yes, you can apply security film on tinted glass, but textured glass is a different story. The film needs a smooth surface to bond properly, so bumps or patterns will trap air and create bubbles.
For textured glass, I recommend skipping the film or replacing the pane first. In my experience, trying to force film onto a rough surface only wastes money and leaves you frustrated.
How long does security window film take to dry and fully cure?
Most security films take about 30 days to fully cure and reach maximum strength. The surface will feel dry to the touch within a week, but the adhesive is still setting underneath.
During that first month, avoid cleaning the glass or pressing hard on the film. I learned this the hard way when I wiped my window too early and left permanent streaks behind.
What is the best security window film for someone who needs to install it on a large sliding door?
Large sliding doors are tricky because the film comes in wide rolls, and one wrong move creates a wrinkle across the whole pane. You need a film that is forgiving enough to reposition while you work out the air pockets.
For big surfaces, I trust the film I used on my own patio door because its adhesive stays tacky longer, giving you time to slide it into place. It saves you from the panic of a stuck fold.
- 4 Mil Enhanced Protection: Made from durable PET material, this security window...
- Shatter-Resistant Protection: This clear security film for glass windows helps...
- Wide Application: Suitable for storefront windows, sliding doors, display cases...
Which security window film won’t let me down when I have kids and pets bumping into the glass?
Homes with kids and pets need film that bonds aggressively to the glass, because daily bumps can loosen weaker adhesives over time. You want something that stays put even after a soccer ball smacks the window.
I have seen great results with the roll I bought for my own busy household, which holds firm under rough play. It gives me peace of mind knowing the glass stays intact.
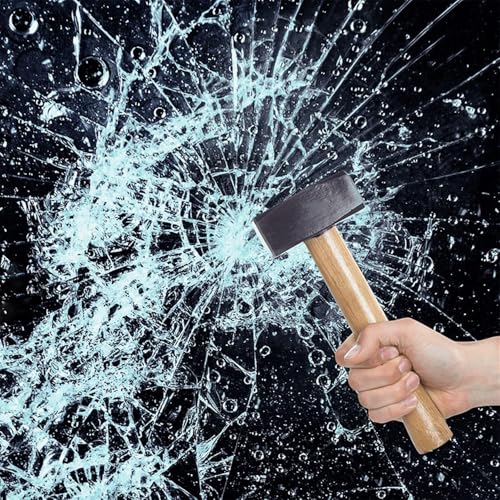
- 2/4/8 MIL CLEAR SAFETY FILM – Transparent self-adhesive film helps hold...
- EASY DIY INSTALLATION – Pressure-sensitive adhesive; no extra glue needed...
- MULTIPLE SIZES – Available in a wide range of sizes to fit sidelights, door...
Can I remove and reapply security window film if I make a mistake?
Once the film touches the glass, you usually cannot peel it off and reuse it. The adhesive grabs immediately, and lifting it stretches the film, leaving permanent creases.
If you mess up, cut your losses and remove the film completely. Clean the glass again and start fresh with a new piece. I always buy an extra foot of film just in case.
Why do bubbles appear days after installation even when the film looked perfect?
Late bubbles usually come from tiny dust particles or moisture trapped under the film that only show up as the adhesive cures. They can also form if you pressed too hard during the final squeegee pass.
Small bubbles often disappear on their own within a few weeks. If they persist, use a pin to puncture the bubble and press the air out gently with your finger.