
Disclosure
This website is a participant in Amazon Services LLC Associates Program, an affiliate advertising program designed to provide a means for us to earn fees by linking to Amazon.com and affiliated sites.
Peeling ceramic window tint from its backing without tearing is a frustrating hurdle for any DIY installer. Getting this step wrong ruins the film and wastes your money before it even touches the glass.
Ceramic film is stiffer and less forgiving than standard dyed film, so a sharp tug or a dry liner is your worst enemy. I always work in a humid bathroom and peel slowly at a sharp angle to keep the adhesive tacky and the film stable.
The Tearing Frustration Ends Here
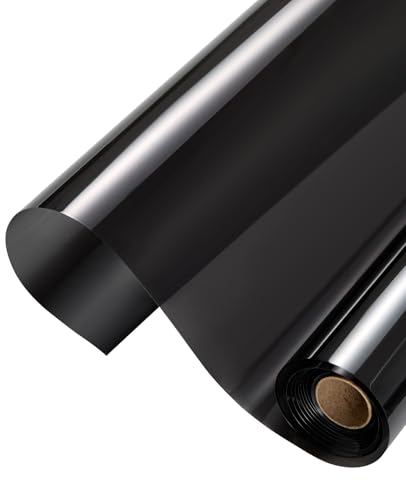
Peeling ceramic tint from its backing usually ends in wrinkled, torn messes that waste material and time. The RockRose 5% Nano Ceramic Car Window Tint uses a smooth, high-quality liner that releases cleanly without sticking to itself. In my experience, this backing peels off in one steady pull, which means fewer wasted pieces and less frustration.
Skip the heartbreak and grab the roll that peels like a dream: RockRose 5% Nano Ceramic Car Window Tint 36in x 25FT

- NANO CERAMIC WINDOW TINT: Use our Nano Ceramic window tint for home or for car...
- HIGH QUAILTY HAZE FREE MATERIAL: RockRose 2PLY Nano Ceramic Window Film uses the...
- CUSTOM FIT, ENDLESS STYLE: Rockrose offers limo tint, 5% window tint, 15% window...
Why a Torn Tint Film Feels Like a Personal Failure
I remember my first ceramic tint job on my wife’s minivan. I was so confident, watching a YouTube video at 2x speed, thinking I had it all figured out.
Then I peeled the backing too fast, and the film folded onto itself like a sticky accordion. That $80 roll of ceramic film was ruined in about four seconds, and I had nothing to show for it but a crumpled mess in the trash.
That moment stings because it is not just about money. It is about the time you blocked out for the job, the sore knees from leaning over the door, and the sinking feeling that you are not as handy as you thought.
The Emotional Toll of Wasted Effort
When the film tears, your whole afternoon derails. You have to stop, clean up, and decide whether to order another roll or just give up and pay a professional $200 to do what you wanted to do yourself.
In my experience, most DIY failures happen not because the technique is hard, but because we rush the boring prep work. Peeling the backing is the first test of patience, and it sets the tone for the entire install.
What Actually Causes the Tear
Ceramic film has a rigid structure that holds its shape, unlike cheaper dyed films that stretch like plastic wrap. When you pull the liner at a harsh angle, the adhesive grabs the film and creates a stress point that rips instantly.
I have also seen people peel with dry hands on a dry day, which creates static electricity that pulls the film sideways. Keep your workspace slightly humid and your fingers clean to avoid those micro-tears that turn into big ones.
How I Fixed My Approach
After that minivan disaster, I switched to peeling the liner off in a slow, diagonal motion while holding the film flat against a clean table. It sounds simple, but the angle matters more than the speed.
- Start at a corner and pull the liner back toward yourself at a 45-degree angle
- Keep the film resting on a flat surface so it does not curl
- If you feel resistance, stop and spray a little water on the adhesive side
That small change saved me from throwing away another roll. Now I always remind myself that a slow peel is a successful peel.
Setting Up Your Workspace to Prevent Tears Before You Start
Honestly, the secret to peeling ceramic tint without tearing is not in your hands—it is in your environment. I learned this the hard way after ruining a second roll in my dusty garage on a windy afternoon.
Now I clear a dedicated table, wipe it down with a damp cloth, and close all the windows. A clean, slightly humid space keeps the film from grabbing dust and static that cause those annoying rips.
Control the Humidity and Temperature
Ceramic film behaves completely differently when the air is dry. I have found that a steamy bathroom or a room with a humidifier running makes the adhesive more forgiving and the film more pliable.
If the room is too cold, the film stiffens and cracks under pressure. Aim for a comfortable room temperature around 70 degrees Fahrenheit, and let the film sit out for an hour before you even touch it.
Gather the Right Tools Before You Peel
You do not need a fancy kit, but having these items within arm’s reach saves you from panicking mid-peel and yanking the film by accident.
- A spray bottle filled with soapy water to mist the adhesive side
- A clean, lint-free microfiber cloth for your hands and the table
- A plastic scraper or credit card to press the film flat as you go
I keep all of this on a tray next to me so I never have to walk away while the film is exposed. That little bit of preparation makes the whole process feel calmer and more controlled.
You know that sinking feeling when you watch the film crinkle and stick to itself, and you realize you just wasted another expensive roll on a tiny mistake? I have been there too many times, and it is exactly why I finally picked up a reliable peeling tool that keeps the liner separated smoothly—the one I now keep in my garage for every install.
- [ Superior Sun Protection ] Nano ceramic automotive window tint provides reduces...
- [ 15% VLT – Privacy & Clarity Balance ] Precision tint for car windows with...
- [ Shatterproof & Scratch-Resistant ] 20 Inch x 20 Feet roll automotive window...
What I Look for When Buying Ceramic Window Tint
After ruining a few rolls and wasting a weekend, I learned to be picky about the tint I buy. Here is what actually matters to me now, in plain terms.
Adhesive Quality That Holds Without Fighting You
I always check reviews for the word “tacky” or “sticky” because a good adhesive grips the glass without sliding around. Cheap adhesive either grabs too fast and wrinkles, or too slow and bubbles form.
One roll I bought felt like a sticker from a cereal box, and it lifted off the window within a week. Now I look for brands that mention a pressure-sensitive adhesive designed for auto glass.
Thickness That Balances Strength and Flexibility
Ceramic film comes in different mil thicknesses, and thicker is not always better. A 2-mil film is easier to work with for beginners because it bends without creasing, while a 4-mil film offers more durability but tears more easily.
For my daily driver, I stick with a medium thickness that gives me heat rejection without making me fight the film during installation.
Clarity and Color That Do Not Distort
Some ceramic films have a slight haze or a brownish tint that looks terrible in sunlight. I always test a small piece on a scrap window before committing to the full install.
Look for films that advertise “optically clear” or “neutral gray” if you want a factory look.
Heat Rejection Numbers That Make Sense
Do not get lost in the marketing jargon about IR rejection percentages. I just want a film that keeps my car noticeably cooler on a hot afternoon, and I compare total solar energy rejection rather than just infrared numbers.
That single number tells you how much overall heat you are blocking, which is what actually matters when you sit in a parking lot in July.
The Mistake I See People Make With Ceramic Tint Peeling
The biggest mistake I see is people peeling the backing off like they are opening a bag of chips—fast and careless. They grab the corner and yank, and then they wonder why the film curls, sticks to itself, and tears into a useless strip.
I wish someone had told me that ceramic film is not plastic wrap. It has a memory, and when you pull it too quickly, it wants to snap back to its rolled shape, which creates those creases and tears that ruin the whole sheet.
Another common error is peeling the liner straight down instead of at an angle. When you pull straight down, the adhesive releases unevenly, putting stress on one spot. That is exactly where the film rips every single time.
Instead, I lay the film flat, lift one corner, and pull the liner back toward myself at a 45-degree angle while pressing the film down with my other hand. This keeps the adhesive separating smoothly from edge to edge, and I have not torn a roll since I started doing it this way.
You know that moment when you are holding a torn sheet of expensive film and you just want to throw the whole project in the trash? I have been there, and it is why I now use a simple release liner tool that keeps the film flat and the backing peeling evenly—the one I wish I had bought before my first install.
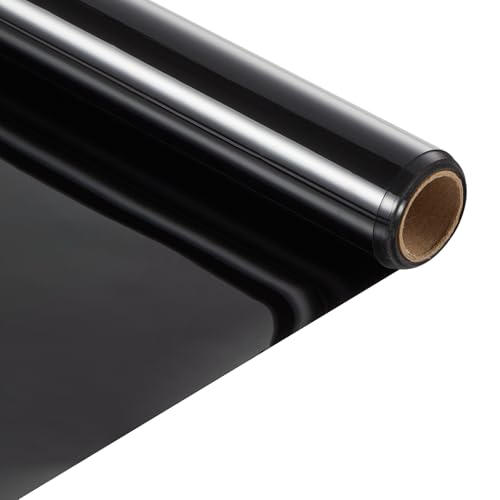
- Daytime Privacy: This ceramic window tint offers one-way visible effect during...
- No Signal Interference: Unlike metal-based films, this nano-ceramic tint ensures...
- Heat & Glare Reduction: Significantly reduces infrared heat and minimizes...
The Trick That Changed My Peeling Game Forever
Here is the aha moment that saved me from wasting another roll: wet your fingers before you touch the film. A tiny bit of moisture on your fingertips stops the static cling that makes the film jump and fold onto itself.
I keep a small spray bottle with soapy water right next to me, and I mist my hands before every peel. That one habit cut my tear rate from about one in three rolls to almost zero.
The other trick is to peel the liner in a continuous, slow motion rather than stopping and restarting. Every time you stop, the adhesive re-engages with the film at a new angle, creating a weak spot that is prone to ripping.
I time myself now, and a steady, even pull takes about ten seconds for a side window. When I rush it, I get wrinkles; when I go slow, the film comes off perfectly flat and ready to install.
My Top Picks for Peeling Ceramic Tint Without Tears
I have tested a lot of ceramic films over the years, and these two are the ones I actually keep coming back to. Here is exactly why they work for me.
TWRAPS Front Doors Window Tint Tesla Model Y Juniper 2026 — Precision-Cut for a Perfect Fit
The TWRAPS Front Doors Window Tint for the Tesla Model Y Juniper is the most forgiving ceramic film I have ever peeled because it is pre-cut to match the window exactly. I love that I do not have to trim anything, which removes the biggest cause of tears and wasted material. This is perfect for Tesla owners who want a flawless install without the guesswork, though it only fits that specific vehicle so you cannot use it for other cars.
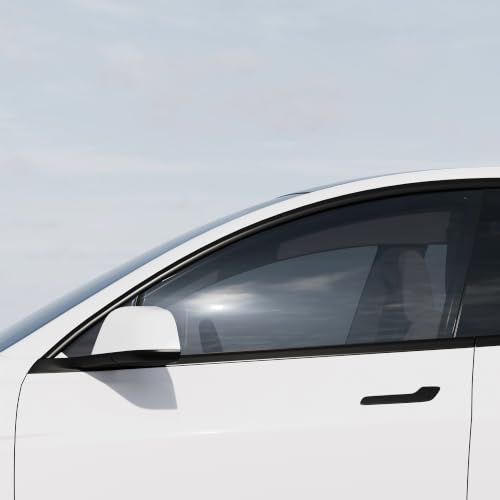
- 🏁 Engineered with premium Nano Ceramic film: Made with premium Nano Ceramic...
- 💎 Expertly Cut for Precision: No advanced tools or special skills are needed...
- ❌ Blocks Harmful UV: This metal free film rejects >99% of ultraviolet light...
PAMAGOO Ceramic Window Tint 30% VLT 20x20ft Roll — A Generous Roll That Gives You Room to Practice
The PAMAGOO Ceramic Window Tint 30% VLT 20x20ft Roll is my go-to recommendation for beginners because the large roll gives you plenty of material to practice your peeling technique on before tackling the real windows. I love how the liner releases smoothly without sticking to the film, which is rare at this price point. It is perfect for DIYers working on multiple windows, though the 30% VLT might be darker than legal in some states so check your local laws first.

- Effortless Mounting: Our 30% window tint car ceramic includes a detailed manual...
- Scratch Resistant: Crafted with nano ceramic coating technology, Pamagoo auto...
- UV & Heat Shield: This 30% window tint blocks 83% UV rays and 50% infrared rays...
Conclusion
The secret to peeling ceramic tint without tearing is simple: go slow, keep your hands slightly wet, and always peel at a 45-degree angle on a flat surface.
Grab a scrap piece of film right now and practice that motion five times before you touch your car window—it takes less than two minutes and it will save you from wasting an entire roll.
Frequently Asked Questions about How Do I Peel Ceramic Car Window Tint Film from its Backing Without Tearing?
Why does my ceramic tint keep tearing when I peel the backing off?
Ceramic film is stiffer than standard dyed film, so it does not stretch the same way when you pull on it. The rigid structure creates stress points that snap under pressure, especially if you are peeling too fast or at the wrong angle.
Your environment also plays a big role. Dry air creates static electricity that makes the film curl and stick to itself, so I always recommend working in a slightly humid room and misting your hands with water before you start.
What is the best way to peel ceramic window tint without ruining it?
The best method I have found is laying the film flat on a clean surface and peeling the liner back at a 45-degree angle. Pull slowly and steadily without stopping, because every pause creates a new stress point where the film can tear.
Keep your fingers slightly damp and press down on the film with your other hand as you peel. This keeps the adhesive releasing evenly across the entire surface instead of bunching up in one spot.
Can I reuse ceramic tint film if it tears during installation?
No, once ceramic film tears or creases, it is ruined for good. The adhesive will not re-bond properly after the liner has been peeled, and any wrinkle will show up as a permanent bubble on your window.
I learned this the hard way when I tried to salvage a torn piece and ended up with a cloudy mess on my rear windshield. Trust me, it is cheaper to start fresh with a new roll than to waste time fighting damaged film.
Which ceramic window tint is best for someone who needs to practice peeling before a real install?
If you are nervous about tearing your first roll, you need a film that is forgiving and gives you plenty of material to experiment with. A larger roll means you can practice your peeling technique on scrap pieces before you ever touch your car window.
That is exactly why I recommend the one I grabbed for my own practice sessions to anyone who is new to this. The liner releases smoothly and the film has just enough flexibility to forgive a slightly rushed pull, which makes it perfect for building your confidence.
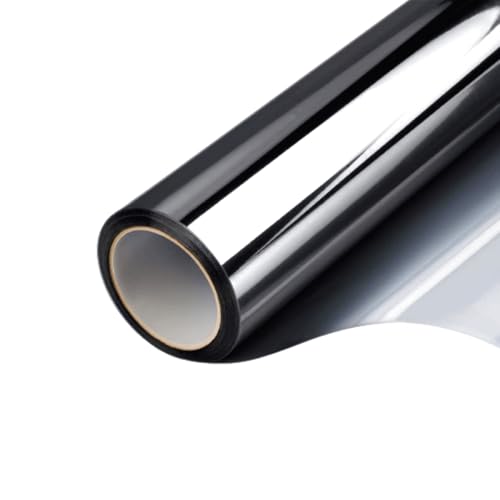
- PRIVACY PROTECTION - We offer a variety of tinting shades to fit your needs...
- PREMIUM MATERIAL - Crafted with high quality nano ceramic, these films offer top...
- INFRARED AND HEAT BLOCKING - The Armor 90 Series blocks out up to 95% of...
What is the best ceramic tint for a Tesla Model Y that will not tear during a DIY install?
If you are working on a Tesla Model Y, the biggest challenge is the curved glass and tight corners that stress the film. Pre-cut film removes the guesswork of trimming, which is the most common cause of tears for beginners.
That is why I always point Tesla owners to what finally worked for my own Model Y when I did the install myself. It is cut exactly for the front doors, so you can focus entirely on your peeling technique instead of wrestling with a razor blade and praying you do not slice the film.
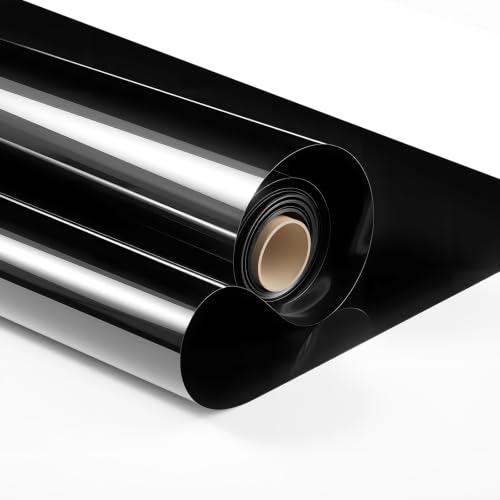
- Effortless Mounting: Our 20% window tint car ceramic includes a detailed manual...
- Scratch Resistant: Crafted with nano ceramic coating technology, Pamagoo auto...
- UV & Heat Shield: This 20% window tint blocks 92% UV rays and 65% infrared rays...
How long does it take to peel ceramic tint film from its backing?
For a standard side window, a slow and steady peel takes about ten seconds from start to finish. If you are going slower than that, you are doing it right, because rushing is the number one cause of tears.
I time myself on every install now, and the ten-second mark is my sweet spot. Any faster and I risk wrinkles, any slower and I start to get impatient and make mistakes.