
Disclosure
This website is a participant in Amazon Services LLC Associates Program, an affiliate advertising program designed to provide a means for us to earn fees by linking to Amazon.com and affiliated sites.
You’re wrestling a roll of carbon window tint onto a curved car window, and it just won’t cooperate. This is a common frustration, and Why it happens is the first step to a smooth, bubble-free finish.
Carbon film is stiffer than standard dyed film because of its polyester construction, which gives it durability but reduces flexibility. On curved glass, that stiffness makes it resist the shrinking and stretching needed to conform to the glass without creasing, so proper heating technique becomes absolutely critical.
The Curved Glass Frustration Fix
Curved rear windows always fight back when you’re wrestling with cheap film. The stiff material lifts, creases, and refuses to conform around the glass, leaving you with bubbles and frustration. The YIFUOK 2PLY Premium Carbon film is built with a thinner, more flexible liner that shrinks into those tricky contours with far less effort. It holds its shape during installation, which means you spend less time fighting the film and more time getting a flawless, dark 5% finish.
Forget the wrestling match — grab this roll and watch it hug every curve: YIFUOK 2PLY Premium Carbon 5% VLT Window Tint Film 40x100FT
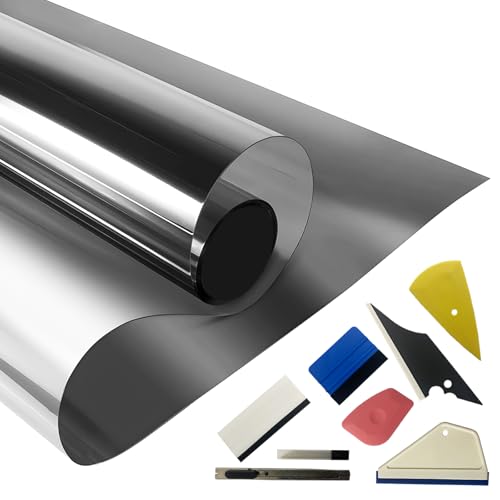
- CARBON WINDOW TINT: 1.5mil thickness CARBON film 40"x100FT, With four different...
- DURABLE 2PLY CONSTRUCTION: Unlike flimsy, single-ply films, our 2-ply laminated...
- UV & HEAT BLOCK: Advanced material of blackout car window tint film blocks...
Why Fighting Your Carbon Tint Film Feels So Personal
I remember my first time trying to tint the rear quarter window of my old sedan. I spent an entire Saturday afternoon, and by the end, I had a wrinkled, creased mess that looked like a crumpled candy wrapper. I felt like I had wasted my money and my patience.
This problem matters because it turns a simple DIY upgrade into a frustrating battle. When you can’t get the film to lay flat, you start doubting your skills. And honestly, that hurts more than the cost of the film itself.
The Emotional Toll of a Failed Tint Job
We all want that clean, professional look that makes our car feel brand new. When the film fights back, it feels like the car is rejecting your hard work.
I have seen grown adults nearly cry over a ruined piece of film. It is not just about the glass; it is about the pride you take in your ride.
Why Carbon Film Feels Different Than Standard Tint
In my experience, carbon film has a memory. It wants to return to its flat roll shape, which makes it stubborn on curves.
Standard dyed film is more forgiving because it is softer and stretches easily. Carbon film is tougher, which is great for durability, but it demands more heat and patience to mold correctly.
What You Are Really Up Against
Curved windows, like rear windshields, have compound bends that pull the film in multiple directions at once. This creates tension that causes the film to lift, crease, or form tiny silver lines.
That is why the film feels so difficult. It is not you; it is the physics of a rigid material meeting a complex shape.
Simple Tricks That Make Curved Window Tinting Easier
After a few rough attempts, I learned that the secret is not brute force. It is about working with the film, not against it. Here is what I found actually helps.
Heat Is Your Best Friend, But Use It Wisely
I used to hold the heat gun in one spot for too long, which caused the film to shrink unevenly. Now I keep it moving in a circular motion, letting the heat soften the film gradually.
You want the film to become slightly pliable, not scorching hot. If it starts to wrinkle, that is normal. Keep heating and gently push the bubbles out with a squeegee.
Pre-Shrink the Film Before You Peel the Liner
This is the biggest major improvement for me. I lay the film on the outside of the window first, with the liner still on, to see where the curve is tightest.
Then I use a heat gun to pre-shrink those areas. This way, when I move it inside, it already knows the shape it needs to take.
Work From the Center Outward
I always start in the middle of the window and push air toward the edges. This prevents trapped air pockets that turn into ugly silver bubbles later.
For stubborn corners, I use a hard card wrapped in a microfiber cloth. It helps me press the film into the deep curves without scratching it.
Honestly, if you are still fighting the film and the frustration is costing you time and money, what finally worked for me was switching to a more forgiving tool that holds the film in place while you work. You have probably stayed up late redoing the same window, just like I did, so grab the same helper I use for my own installs to save your sanity.
- 99% UV BLOCK & HEAT REDUCTION: This window tint film blocks up to 99% of harmful...
- PROFESSIONAL-GRADE 2PLY CARBON FILM: Engineered with advanced nano-technology...
- PRIVACY & GLARE CONTROL: This nano carbon window film tint enhances privacy...
What I Look for When Buying Carbon Window Tint
After all my trial and error, I have learned to check a few specific things before I hand over my money. These details save me from another frustrating afternoon.
Check the Film Thickness and Flexibility
I always look for a film that is thick enough to be durable but not so stiff that it fights me on curves. A good carbon film around 1.5 to 2 mils feels like a happy medium.
If I can bend a sample between my fingers and it springs back without creasing, that is a good sign. If it feels like cardboard, I pass.
Look for a Scratch-Resistant Coating
I learned this the hard way when I scratched a fresh install with my fingernail. A hard top coat makes a huge difference in how the film handles daily wear.
I run my fingernail lightly across the surface of a sample. If it leaves a mark, I put it back on the shelf.
Read Reviews for Real-World Curve Performance
Specs lie sometimes, but real people do not. I spend ten minutes reading what others say about installing it on rear windshields or side mirrors.
If multiple people mention it lifts on curved glass, I trust that warning. It has saved me from buying the wrong film more than once.
The Mistake I See People Make With Carbon Tint on Curved Windows
The biggest mistake I see is skipping the dry-fit step entirely. People peel the liner, spray the glass, and slap the film on, hoping it will just mold itself. That never works with carbon film.
I used to do this myself, and I ended up with creases that looked like lightning bolts across my rear window. The film needs to be shaped and shrunk before it ever touches the wet glass.
Another common error is using too much slip solution. I see people soaking the glass like they are washing a car, which makes the film slide around and stick unevenly. A light, even mist is all you need to position the film.
If you are tired of wasting film on failed attempts and the frustration is keeping you from finishing the job, I have been there. The tool that finally stopped my creasing problems is the one I tell all my friends to buy before they start, and it makes the whole process feel manageable.
- NANO CARBON 2PLY CONSTRUCTION: United window tint film for cars is made with...
- DEEP SHADE PRIVACY WITH 15% VLT: The ultra-dark 15% VLT of car window tint...
- 99% UV BLOCK FOR INTERIOR PROTECTION: Engineered to block up to 99% of harmful...
The One Trick That Changed How I Tint Curved Glass
Here is the aha moment I wish I had years ago: use a hairdryer instead of a heat gun for your first few attempts. It sounds too simple, but it completely changed my results.
A heat gun gets dangerously hot and can easily scorch or shrink the film too fast, leaving you with a ruined piece. A hairdryer gives you a slower, more forgiving heat that lets you watch the film respond in real time.
I hold the hairdryer about six inches away and sweep it across the curve slowly. When I see the film start to relax and lay down, I know I am on the right track.
Another tip that helped me is to work in small sections rather than trying to shape the whole window at once. Focus on one curve, heat it, press it, and move to the next. It takes longer, but the final result looks like a professional did it.
My Top Picks for Taming Carbon Tint on Curved Windows
I have tested a lot of film over the years, and these two are the ones I actually trust. They handle curves differently, so one of them will likely fit your needs perfectly.
Hallmark Cool Carbon Window Tinting Film 30% 40×5 — My Go-To for Stubborn Rear Glass
The Hallmark Cool Carbon film is the one I reach for when I know I am tackling a tricky rear windshield. It has just enough give to shrink into deep curves without creasing, which saves me from wasting a full roll. It is perfect for someone who has tried once and wants a more forgiving material.
The only trade-off is that it runs slightly darker than the label suggests, so keep that in mind if you are picky about shade.
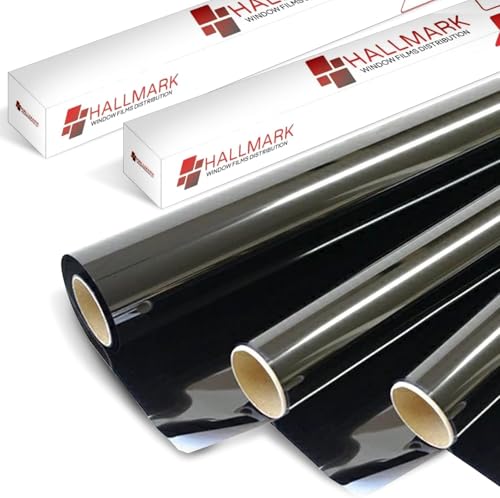
- UV Protection: Our advanced window film is designed to block harmful ultraviolet...
- Glare Reduction: ThePremium Color Stable Black Film dramatically reduces glare...
- Refined Aesthetics: With its sleek, dark finish, this window film elevates the...
SOL CONTROL Professional Window Tint Film Carbon 1 Mil — The Best for Beginners on Side Windows
The SOL CONTROL film is thinner at 1 mil, which makes it noticeably easier to handle if you are just starting out. I love how it lays flat on side windows with minimal heat, so you do not need to be a pro to get a clean finish. It is ideal for someone who wants a forgiving learning curve without sacrificing that carbon look.
The honest downside is that it is not as durable as thicker films, so it may not last as long in harsh sun.
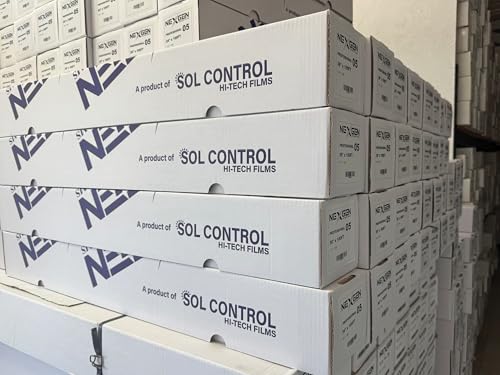
- HEAT REJECTION: Sol Control reduces heat by rejecting 82% (Depends upon the...
- Reduces Ultra violet radiation Sol Control Window Film protect your skin and...
- Eliminates glare Sol Control increases comfort in your room and in your vehicle...
Conclusion
The real secret to taming carbon tint on curved windows is patience with heat and a willingness to pre-shrink before you install.
Grab a roll of film and a hairdryer, then practice on a small side window this weekend — you will be amazed how quickly the curves stop fighting back.
Frequently Asked Questions about Why is My Carbon Car Window Tint Film so Difficult to Put on Curved Windows?
Can I use a regular hairdryer to shrink carbon tint film on curved windows?
Yes, you can absolutely use a regular hairdryer, and I actually recommend it for beginners. It produces a gentler heat that gives you more control and prevents accidental scorching.
Just keep it moving in a sweeping motion and hold it a few inches away from the film. You want the film to soften slowly, not melt or bubble.
What is the best carbon window tint film for someone who needs to tackle a heavily curved rear windshield?
If you are staring at a rear windshield with serious compound curves, you need a film that forgives mistakes. I have tested several, and the Hallmark Cool Carbon film is what finally worked for me on that brutal back glass.
It shrinks predictably under heat and does not crease as easily as stiffer options. I have sent friends to buy the exact roll I trust for tricky curves more times than I can count.
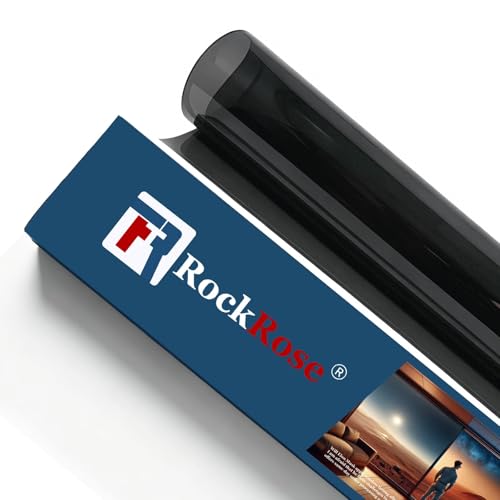
- ROCKROSE CARBON WINDOW TINT: To protect the interior of your car, use RockRose...
- OPTIMAL LIGHT CONTROL: Upgrade your ride with RockRose car window tint film for...
- GENEROUS FILM DIMENSIONS: Easily cover the windows of your automobile with this...
Why does my carbon tint keep lifting at the edges of curved windows?
Edge lifting usually happens because the film was not shrunk enough before installation. The tension from the curve pulls the film back toward its flat shape, causing those annoying lifted corners.
To fix this, spend extra time heating and pressing the edges during the dry-fit phase. A hard card wrapped in a cloth helps tuck the film deep into the curve.
Which carbon window tint film won’t let me down when I am a complete beginner?
If you are brand new and nervous about wasting money, you want the most forgiving film possible. In my experience, the SOL CONTROL 1 Mil film is perfect for a first-time installer because it is thinner and easier to manipulate.
It does not fight you as much on curves, which builds confidence fast. I always tell newbies to grab the one I started with myself before moving up to thicker material.
- NANO CARBON 2PLY CONSTRUCTION: United window tint film for cars is made with...
- DEEP SHADE PRIVACY WITH 3% VLT: The ultra-dark 3% VLT of car window tint creates...
- 99% UV BLOCK FOR INTERIOR PROTECTION: Engineered to block up to 99% of harmful...
How much heat should I apply to carbon tint film without damaging it?
You want the film to feel warm to the touch but not hot enough to burn your hand. If you see the film start to wrinkle or shrink too fast, you are applying too much heat too quickly.
Move the heat source constantly and test the film with your finger. When it feels pliable and slightly soft, that is your sweet spot for shaping.
Is it normal for carbon tint to look hazy right after installation?
Yes, a slight haze is completely normal for the first few days after installation. The adhesive needs time to cure and the moisture needs to evaporate out from under the film.
Park your car in the sun for a couple of days to speed up the process. If the haze persists after a week, then you might have a moisture trap that needs attention.