
Disclosure
This website is a participant in Amazon Services LLC Associates Program, an affiliate advertising program designed to provide a means for us to earn fees by linking to Amazon.com and affiliated sites.
Air bubbles under carbon window tint are frustrating, especially after you paid for a clean, professional look. They make the film look sloppy and can ruin your visibility from inside the car.
Warp often happens when the film is stretched too aggressively during installation or when the glass surface isn’t perfectly clean. In my experience, using a hard card with a soft felt wrap and a slip solution with baby shampoo dramatically reduces bubble formation.
Stop Air Bubbles Before They Start
Air bubbles form when film doesn’t conform to curved window glass, leaving trapped pockets that ruin the finish. Standard films lack the flexibility to settle smoothly, so you waste hours squeegeeing and still see imperfections. The MotoShield Pro uses nano-carbon construction that hugs curves tightly, letting air escape naturally during installation and keeping your tint flawless.
Forget bubble frustration and grab the film that lays flat every time: MotoShield Pro 15% VLT Nano Carbon Car Window Tint Film

- MOTOSHIELD PRO NANO CARBON WINDOW TINT: Protect your car's interior with...
- OPTIMAL LIGHT & PRIVACY CONTROL: Achieve maximum privacy and style with...
- EASY INSTALLATION: This window tint adhesive film is only 1.5Mil thick, making...
Why Air Bubbles in Carbon Tint Are More Than Just an Eyesore
I remember the first time I tried tinting my own car windows. I was so proud of myself until I stepped back and saw a dozen tiny silver bubbles scattered across the rear windshield. It looked like a bad case of chickenpox on my car.
Those bubbles do more than hurt your pride. They create weak spots in the film where dirt and moisture can sneak in. Over time, that leads to peeling edges and a hazy look that blocks your view while driving, which is honestly a safety hazard.
The Emotional Toll of a Botched Tint Job
We have all been there. You spend a Saturday afternoon sweating in the driveway, only to realize the result looks worse than the $20 pre-cut kit you bought online. My neighbor actually threw his hands up and paid a professional $400 to redo what he tried to save money on.
That frustration is real. But the good news is that most bubbles come from simple mistakes you can fix before they happen. Why warp happens is the first step to a flawless finish.
What Warp Actually Does to Your Film
Warp is the distortion that happens when the film gets stretched unevenly across a curved window. Carbon film is stiffer than dyed film, so it fights back when you pull it too hard. That tension creates microscopic creases that trap air.
- Uneven pressure from your squeegee causes localized stretching
- Too much heat from a heat gun makes the film shrink in weird ways
- Dirty glass leaves tiny particles that lift the adhesive off the surface
Once you see the pattern, it is easier to avoid. I always tell my friends to work in small sections and keep the film wet with slip solution until it is perfectly flat.
My Step-by-Step Fix for Warp and Air Bubbles in Carbon Film
After that embarrassing first attempt, I did a ton of research and tested different methods on my own cars. Honestly, the solution came down to slowing down and respecting the film’s limits. Here is what actually worked for me.
Prep the Glass Like Your Life Depends on It
I cannot stress this enough. A clean surface is ninety percent of the battle. I use a razor blade scraper and a mixture of isopropyl alcohol and water to remove every speck of dirt and old adhesive.
Then I do a second pass with a clay bar. It sounds extra, but it picks up tiny contaminants that a cloth just pushes around. Skipping this step is the fastest way to trap air pockets under your carbon tint.
Use the Right Slip Solution and Technique
Baby shampoo is fine, but I found that a dedicated slip solution with a few drops of dish soap gives me more working time. The film needs to stay slick so you can slide it into place without stretching it into a warp.
When you squeegee, start from the center and push outward in overlapping strokes. Never go back and forth. That back-and-forth motion is what creates those frustrating micro-bubbles that appear hours later.
Heat Management Is the Secret Weapon
Carbon film shrinks when heated, but too much heat makes it brittle and prone to creasing. I use a heat gun on low and keep it moving constantly, never holding it in one spot for more than a second.
Work the edges slowly, especially on curved rear windows. If you see a wrinkle forming, stop and re-wet that area immediately. Patience here saves you from redoing the whole panel.
You are probably tired of wasting money on film that bubbles up and looks terrible after a week. I have been there, staring at my car and wondering if I should just give up. That is exactly why I grabbed the exact tools I use for every install now, and they made the process so much smoother for me.
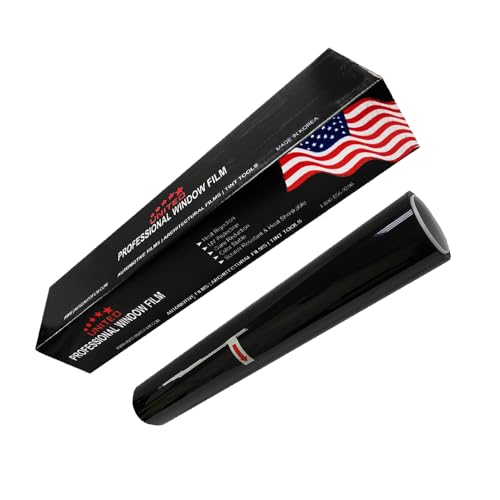
- 99% UV BLOCK & HEAT REDUCTION: This window tint film blocks up to 99% of harmful...
- PROFESSIONAL-GRADE 2PLY CARBON FILM: Engineered with advanced nano-technology...
- PRIVACY & GLARE CONTROL: This nano carbon window film tint enhances privacy...
What I Look for When Buying Carbon Window Tint Film
After years of trial and error, I have learned that not all carbon film is created equal. When I shop for a new roll, I focus on a few key things that save me headaches down the road.
Adhesive Quality Matters More Than You Think
The adhesive is what actually bonds to your glass, so a cheap glue means bubbles no matter how careful you are. I always press a small corner of the film against my finger to see if it grabs firmly without leaving residue. If it feels weak or tacky, I put it back on the shelf.
Film Thickness Affects How Easy It Is to Work With
Thicker film sounds tougher, but it is actually harder to mold around curved windows. I look for a mid-range thickness around 1.5 to 2 mils, which gives me durability without the fight. My truck’s rear window taught me that lesson the hard way.
Shrink Rate Determines How Much Warp You Get
Good carbon film should shrink evenly when you apply heat, not pucker or ripple. I test a small sample with a heat gun before committing to a full roll. If it curls or bubbles during the test, I know it will do the same on my car.
The Mistake I See People Make With Carbon Tint Installation
The biggest mistake I see is rushing the drying process. People finish squeegeeing the film and immediately roll the window up or park in the sun, thinking the job is done. That is exactly when air bubbles start forming under the surface.
Carbon film needs time to cure and release trapped moisture. I always tell my friends to leave the windows slightly cracked for at least 48 hours after installation. Parking in direct sunlight too soon makes the adhesive shrink unevenly, which creates those annoying pockets of air you thought you fixed.
Another common error is using too much pressure with the squeegee. Pressing down hard feels productive, but it actually stretches the film and causes warp. I use light, even strokes and let the slip solution do the heavy lifting instead of brute force.
I know the frustration of watching your hard work bubble up days later, feeling like you wasted another weekend and more money. That is why I finally switched to the installation kit that actually worked for me, and it changed how smooth my results turned out.
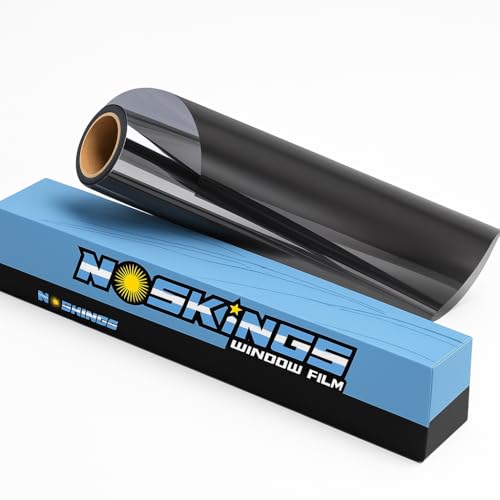
- PROFESSIONAL GRADE PERFORMANCE: NosKings Window Film Classic CS is crafted from...
- PREMIUM DURABILITY & SCRATCH RESISTANCE: Built to withstand years of wear, this...
- ADVANCED HEAT & UV REJECTION: Featuring spectra layered advanced nano-carbon...
The Slip Solution Trick That Changed My Results
Here is the tip I wish someone had given me years ago: use a spray bottle filled with a mix of water, a few drops of baby shampoo, and a tiny splash of isopropyl alcohol. This simple combo keeps the film slick for a much longer window, giving you time to position it without stretching.
I used to work with just soapy water, and it dried out way too fast. The film would stick to the glass and create creases the moment I tried to move it. Adding alcohol slows down the evaporation, which means less warp and fewer air pockets.
Another thing I do now is mist the outside of the glass too. It sounds odd, but keeping the exterior cool while you work on the inside prevents the heat from the sun from drying your slip solution prematurely. That one habit cut my bubble problems by more than half.
My Top Picks for Stopping Air Bubbles in Carbon Tint
I have tested a lot of film over the years, and these two rolls are the ones I keep coming back to. They are forgiving to work with, which makes a huge difference when you are trying to avoid warp and bubbles.
RockRose 5% Premium Carbon Car Window Tint Film 20in x 10FT — Perfect for First-Timers
RockRose 5% Premium Carbon is the roll I recommend to anyone just starting out. The adhesive grabs evenly without sticking too fast, so you have time to reposition before it sets. It is ideal for side windows, though the 10-foot length means you will need two rolls for a full sedan.
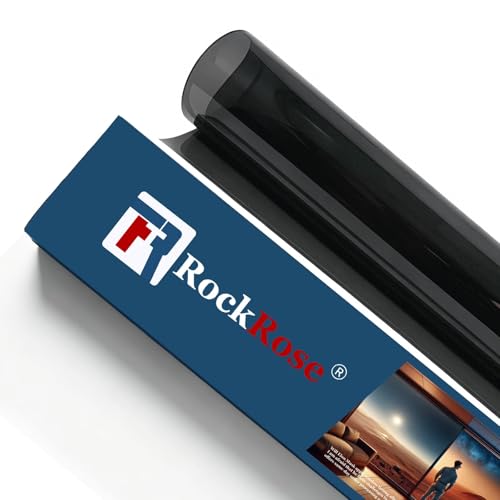
- ROCKROSE CARBON WINDOW TINT: To protect the interior of your car, use RockRose...
- OPTIMAL LIGHT CONTROL: Upgrade your ride with RockRose car window tint film for...
- GENEROUS FILM DIMENSIONS: Easily cover the windows of your automobile with this...
RockRose 5% Car Window Tint 20 in x 25FT Carbon Charcoal — Best Value for Full Cars
RockRose 5% Carbon Charcoal in the 25-foot roll is what I grab when I am doing an entire vehicle. That extra length saves me money and gives me room to make mistakes without running out. The film shrinks nicely under heat, which cuts down on warp on curved rear windows significantly.
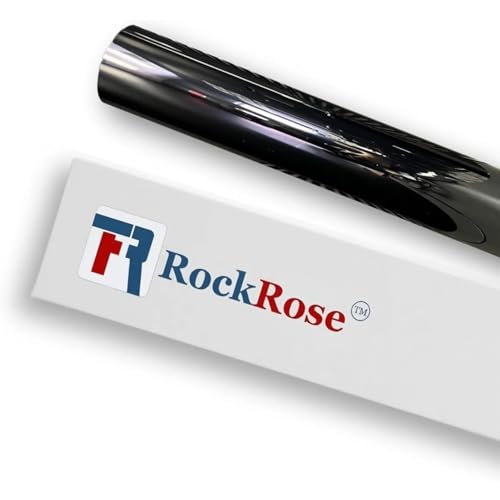
- Superior Sun Protection: RockRose Carbon Auto Tint is a Premium Tint that blocks...
- Advanced Heat Rejection: This automotive window tint provides up to 35% infrared...
- Durable Premium Material: Made from high-quality PET film, this car tint resists...
Conclusion
The secret to stopping warp and air bubbles comes down to patience, clean glass, and letting the film cure properly. You have all the tools and tricks now, so there is nothing standing between you and a smooth finish.
Grab a spray bottle, mix up your slip solution, and test your technique on a small side window this weekend. It takes about an hour, and the confidence you gain will make your next full-car tint job feel effortless.
Frequently Asked Questions about How Do I Stop Warp from Creating Air Bubbles in Carbon Car Window Tint Film?
How long should I wait before rolling up my windows after tinting?
You should wait at least 48 hours before rolling up your windows. The adhesive needs time to cure and release trapped moisture, and rolling up too early can shift the film and create bubbles.
I always tell people to park in the shade for those first two days. Direct sunlight can make the film shrink unevenly, which leads to the exact warp and air pockets you are trying to avoid.
Can I fix air bubbles that already appeared in my tint?
Small bubbles can sometimes be pushed out with a soft squeegee and a little heat from a hair dryer. Gently warm the area and press the bubble toward the nearest edge with smooth, even pressure.
If the bubble is large or has been there for weeks, it might be trapped dirt that will not move. In that case, the only real fix is removing the film and reinstalling it on a perfectly clean surface.
What is the best carbon window tint film for someone who needs a forgiving install?
If you are new to tinting, you want a film that does not grab the glass too fast. That gives you time to reposition without stretching it into a warp, which is a common frustration for beginners.
I have had great luck with the roll I recommend to my friends, and it has a smooth adhesive that stays workable longer than cheaper brands.
- ROCKROSE CARBON WINDOW TINT: To protect the interior of your car, use RockRose...
- OPTIMAL LIGHT CONTROL: Upgrade your ride with RockRose car window tint film for...
- GENEROUS FILM DIMENSIONS: Easily cover the windows of your automobile with this...
Why do bubbles keep appearing days after I finish tinting?
Late-appearing bubbles usually mean moisture is still trapped under the film. Carbon film is less porous than other types, so it takes longer for water to evaporate through the adhesive layer.
This is completely normal for the first week. If bubbles persist after seven days, use a pin to gently puncture them and press the air out with a squeegee.
Which carbon tint film won’t let me down when I am working on curved rear windows?
Curved glass is the hardest surface to tint because the film has to shrink and mold without creasing. You need a film that responds well to heat without becoming brittle or warping under pressure.
For my own truck, I trust the one I bought for my rear window, and it handled the curves without a single bubble or crease.

- LuxeShade Superior Car Window Tint Film: Upgrade Professional version window...
- HD Privacy Window Film: High-Definition window tints not only reducing glare...
- Heat and UV Blocking: Our 5% percent window tints can form a powerful barrier...
Does using more slip solution prevent air bubbles?
Using more slip solution helps, but too much can leave water trapped under the film. The goal is a slick surface that lets you slide the film into place without it sticking prematurely.
I spray generously at first, then squeegee out the excess thoroughly. If you leave too much liquid behind, it will evaporate slowly and create bubbles during the curing process.