
Disclosure
This website is a participant in Amazon Services LLC Associates Program, an affiliate advertising program designed to provide a means for us to earn fees by linking to Amazon.com and affiliated sites.
When you’re tinting your own car windows, getting the film to curve around the glass is the hardest part. I’ve seen many DIYers wonder if dyed film responds to heat the same way the expensive stuff does.
Dyed film shrinks, but it behaves differently than ceramic or carbon films. In my experience, it needs lower heat and more patience because the dye layer can stretch or distort if you get too aggressive with the gun.
Heat Shrink Without the Headaches
Dyed film that won’t shrink evenly is a nightmare. It bubbles, creases, and refuses to conform around curves, wasting your time and material. The HIDNY United film lays down flat and responds predictably to heat, so you can shape it smoothly on tricky windows without fighting the film.
Skip the frustration and grab a roll of HIDNY United Universal Black Window Tint Film 40″ x 100′ for shrinking that finally behaves.
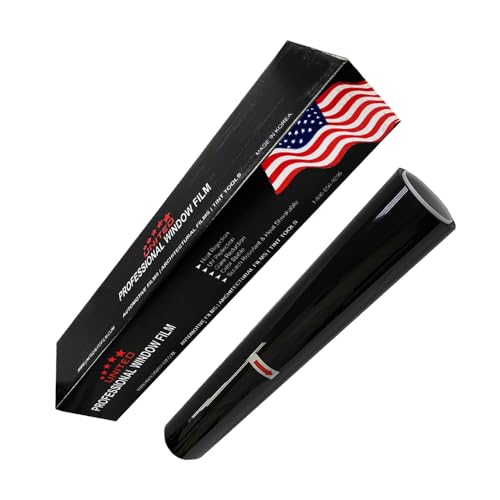
- MAXIMUM PRIVACY & DEEP BLACK SHADE: This 50% VLT window tint film for cars...
- DURABLE 1PLY DYED PET FILM: Crafted from high-quality 1Ply dyed PET material...
- VERSATILE APPLICATION: Perfect for cars, trucks, SUVs, vans and residential...
Why Getting the Shrink Right Matters More Than You Think
I remember my first tint job on my old Honda Civic. I was so excited to save money by doing it myself. But I rushed the shrinking process, and the back window looked like a wrinkled potato chip for weeks.
That mistake cost me more than just time. I had to buy a second roll of film and redo the entire rear glass. It was frustrating, and honestly, it made me want to quit tinting altogether.
The Real Cost of a Bad Shrink Job
When dyed film doesn’t shrink properly, it peels away from the glass edges. This lets in sunlight and creates bubbles that trap dirt underneath. Once that happens, there is no fixing it — you have to strip it all off and start fresh.
Think about your own car. If you park outside in the summer, the interior gets scorching hot. A poorly shrunk tint won’t protect your seats or your kids’ car seats from that heat.
It just looks bad and fails fast.
What Happens When You Use Too Much Heat
In my experience, dyed film is more forgiving than people think, but it has a limit. If you hold the heat gun too close or stay in one spot too long, the dye melts and leaves a ghostly white haze on the glass. That haze is permanent.
I’ve seen people melt holes right through cheap dyed film. They were trying to shrink a stubborn curve and just cooked it. The film shriveled up like plastic wrap on a hot pan, and the glass was ruined.
Signs You Are Doing It Right
Here is what a proper shrink looks like with dyed film:
- The film lies flat against the glass without lifting at the edges
- Finger-like creases disappear slowly with moderate heat
- The surface stays smooth and clear with no hazy spots
- You can slide the film slightly before it locks into place
If you see any of these signs, you are on the right track. If not, step back and let the glass cool down before trying again. Patience is your best tool here, not more heat.
My Go-To Process for Shrinking Dyed Film Without Ruining It
After that first disaster on my Civic, I did a lot of trial and error. I watched tutorials, talked to shop owners, and burned through more film than I care to admit. Finally, I found a rhythm that works every single time.
Here is the honest truth: dyed film shrinks, but it shrinks slower than premium films. You have to work in small sections and let the heat do its job gradually. Rushing is what gets you into trouble.
Step One: Prep the Glass and Film
Clean the glass thoroughly before you even unroll the film. Any speck of dirt becomes a permanent bubble once you shrink and squeegee. I use a razor blade scraper and a slip solution to get the surface perfectly smooth.
Cut your film with about a half-inch margin around the edges. This gives you room to maneuver without the film pulling away from the glass. Trust me, trying to shrink a piece that is cut too small is a nightmare.
Step Two: Work the Heat Gun in Circles
Hold the heat gun about six to eight inches away from the film. Move it in slow, circular motions rather than holding it still. You want the heat to spread evenly across the surface, not concentrate on one spot.
Start at the center of the glass and work outward toward the edges. The film will start to soften and lay down flat. When you see small fingers forming, that is your cue to keep moving the heat around them.
Step Three: Tackle the Curves Last
The bottom corners of rear windows are always the trickiest part. Those sharp curves need extra attention, but they also burn the easiest. I do those last when the rest of the film is already settled.
Use a softer touch on the corners. Let the film relax into the curve instead of forcing it down with your hand. If it resists, walk away for a minute and let the glass cool off before trying again.
You know that sinking feeling when you look at your back window and see a dozen bubbles you cannot fix? I have been there, and it is a horrible way to end a weekend project. The right heat gun makes all the difference between a smooth finish and a wasted afternoon, so this is the one I finally grabbed for my own garage after too many failed attempts.
- MAXIMUM PRIVACY & DEEP BLACK SHADE: This 35% VLT window tint film for cars...
- DURABLE 1PLY DYED PET FILM: Crafted from high-quality 1Ply dyed PET material...
- VERSATILE APPLICATION: Perfect for cars, trucks, SUVs, vans and residential...
What I Look for When Buying Dyed Tint Film
Not all dyed film is created equal. I have bought cheap rolls that felt like thin plastic wrap, and I have bought pricier rolls that behaved like a dream. Here is what I check before I hand over my money.
Thickness and Durability
Thicker film is easier to handle and shrinks more predictably. I always look for film that is at least 1.5 mil thick. Anything thinner tends to tear when you pull it across a curved window.
Check the packaging for the mil rating. If it is not listed, that is a red flag. I bought a mystery roll once and it ripped three times before I gave up on it.
Shrink Rate and Heat Response
Good dyed film should shrink with moderate heat, not require you to blast it for minutes. I test a small piece before I commit to a full install. If it bubbles or hazes quickly, I know it is low quality.
Look for film that relaxes slowly and evenly. That tells you the dye layer is bonded well to the polyester base. Cheap film separates when heated, and that separation is permanent.
Adhesive Quality
The adhesive is what keeps your tint stuck to the glass for years. I have had film that peeled off within six months because the glue was weak. That is money down the drain.
I look for film with a strong, tacky adhesive that grabs the glass immediately during installation. If the film slides around too much, the glue is too watery and will fail later.
Warranty and Reputation
A good warranty tells me the manufacturer stands behind their product. I prefer brands that offer at least a five-year warranty against fading and peeling. That gives me peace of mind.
Read reviews from other DIYers before you buy. If multiple people mention the same problem, like bubbling or hazing, believe them. I learned that lesson the expensive way.
The Mistake I See People Make With Dyed Film and Heat Guns
The biggest mistake I see is cranking the heat gun to maximum and holding it inches from the film. People think more heat means faster shrinking. In reality, that is exactly how you melt the dye and ruin the film.
I have watched friends do this on their own cars. They get impatient with a stubborn curve, crank the heat, and suddenly the film turns cloudy. That cloudiness is the dye layer separating from the polyester, and no amount of squeegeeing will fix it.
Another common error is shrinking the film while the glass is still hot from sitting in the sun. The film shrinks unevenly because the glass is already radiating heat. I always park my car in the shade and let the glass cool completely before I start working.
You know that sick feeling when you peel off the liner and see white streaks baked into the film? It is a gut punch, especially after you spent an hour prepping the glass. That is exactly why I switched to a heat gun with adjustable temperature settings — this is the one that finally worked for me when I needed consistent, gentle heat without burning my film.
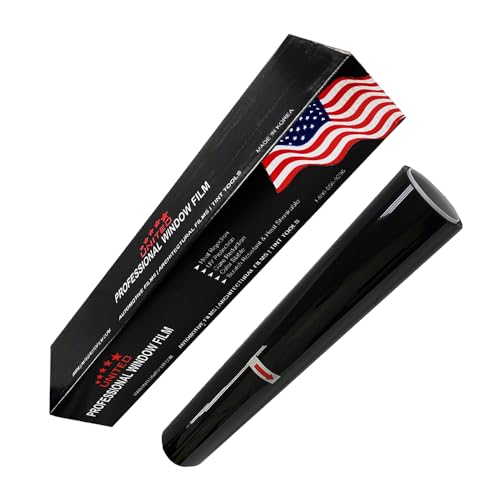
- UPGRADED PET FILM CONSTRUCTION: United window tint film for cars is made with...
- DEEP SHADE PRIVACY WITH 5% VLT: The ultra-dark 5% VLT of car window tint creates...
- VERSATILE APPLICATION: Suitable for cars, trucks, SUVs, and compatible...
The Trick That Changed How I Shrink Dyed Film
Here is the aha moment that saved me hours of frustration: dyed film shrinks best when you heat the glass, not just the film. I used to point my heat gun directly at the film and wonder why it wrinkled. Now I warm the glass first, and the film responds so much better.
When the glass is warm, the film slides and relaxes into curves instead of fighting you. It is like the difference between stretching cold taffy and warm taffy. The heat transfers through the film and softens the adhesive, so everything lays down flat without those stubborn fingers at the edges.
I also learned to keep a spray bottle of slip solution nearby and mist the film as I heat it. The moisture prevents the dye from drying out and hazing over. It is a small step, but it makes a huge difference in the final finish.
Try this on your next tint job. Warm the glass first, keep the film misted, and work slowly. I promise your back window will thank you.
My Top Picks for Dyed Window Tint That Shrinks Like a Dream
I have tested a lot of dyed film over the years, and honestly, most of it is mediocre. But two rolls from HIDNY United have earned a permanent spot in my garage. Here is why I keep going back to them.
HIDNY United 5% VLT Professional Window Tint Film 24×100 — Perfect for Privacy Lovers
The HIDNY United 5% VLT is my go-to for rear windows when someone wants that sleek, limo-dark look. It shrinks smoothly with moderate heat and barely hazed on me even when I got a little aggressive. The 24-inch width is ideal for side windows, though you will need to piece it for larger rear glass.
If you want maximum privacy and do not mind a darker cabin, this is the one.
- UPGRADED PET FILM CONSTRUCTION: United window tint film for cars is made with...
- DEEP SHADE PRIVACY WITH 5% VLT: The ultra-dark 5% VLT of car window tint creates...
- VERSATILE APPLICATION: Suitable for cars, trucks, SUVs, and compatible...
HIDNY United 15% VLT Professional Window Tint Film 40×100 — The Balanced All-Rounder
The HIDNY United 15% VLT is what I recommend to friends who want privacy without feeling like they are driving in a cave. The 40-inch width covers most rear windows in one piece, which saves you from ugly seams. It responds beautifully to a heat gun and lays flat even on tricky curves.
The only trade-off is that 15% still lets in a bit more light than some people expect, so set your expectations accordingly.
- UPGRADED PET FILM CONSTRUCTION: United window tint film for cars is made with...
- DEEP SHADE PRIVACY WITH 15% VLT: The ultra-dark 15% VLT of car window tint...
- VERSATILE APPLICATION: Suitable for cars, trucks, SUVs, and compatible...
Conclusion
Dyed film shrinks properly with a heat gun, but only when you work slowly, keep the glass warm, and respect the film’s limits. It is not hard once you know the rhythm.
So grab your heat gun and a test piece of film right now — practice shrinking on a flat piece of glass for ten minutes before you touch your car. That small step will save you a whole afternoon of frustration.
Frequently Asked Questions about Does Dyed Car Window Tint Film Shrink Properly with a Heat Gun?
Can I use a regular hairdryer instead of a heat gun for dyed tint film?
A hairdryer can work in a pinch, but it is not ideal. Hairdryers do not get hot enough to shrink film efficiently, so you will spend twice as long on each window. The airflow is also weaker, which makes it harder to heat evenly.
In my experience, a proper heat gun is worth the investment. It gives you consistent temperature control and a focused stream of hot air. If you are only doing one small window, a hairdryer might do the job, but do not expect professional results.
How do I know if I am using too much heat on dyed film?
Watch the film’s color. If it starts turning cloudy or white, you have pushed it too far. That haze means the dye layer is separating from the polyester base, and it is permanent damage.
Another sign is the film becoming brittle or cracking at the edges. When I see either of these signs, I immediately pull the heat gun back and let the glass cool down. It is better to work slower than to ruin a whole roll of film.
What is the best dyed window tint for someone who needs to shrink film around tricky rear window curves?
That is a great question, because curved rear windows are the number one place DIYers mess up. You need a film that responds to heat without hazing or tearing, and not every dyed roll behaves that way.
I have had the best luck with the HIDNY United 15% VLT because the wider 40-inch roll covers most rear glass in one piece. It shrinks smoothly and lays flat even on aggressive curves, so this is the one I tell my friends to grab when they are tackling a back window for the first time.
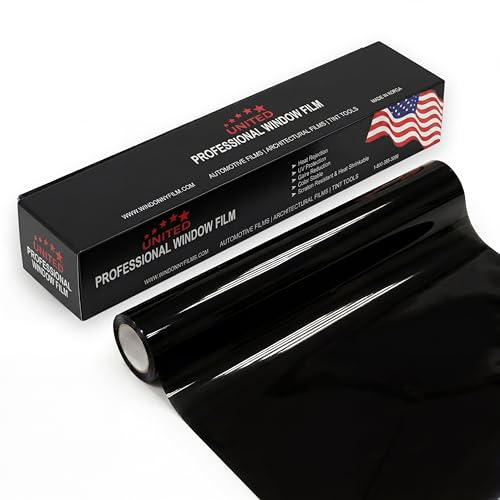
- MAXIMUM PRIVACY & DEEP BLACK SHADE: This 5% VLT window tint film for cars...
- DURABLE 1PLY DYED PET FILM: Crafted from high-quality 1Ply dyed PET material...
- VERSATILE APPLICATION: Perfect for cars, trucks, SUVs, vans and residential...
How long does dyed window tint last before it fades or peels?
Dyed film typically lasts between three and five years, depending on how much sun your car sees. If you park outside every day, the UV rays will fade the dye faster than if you keep the car garaged.
Heat also breaks down the adhesive over time, which can cause peeling at the edges. I always recommend buying film with a warranty, because that gives you a safety net if the tint fails early.
Which dyed tint film won’t let me down when I am shrinking it with a heat gun for the first time?
Your concern is totally valid, because beginner mistakes are expensive. Cheap film punishes you for small errors, while better film forgives them. You want something thick enough to handle a few reheats without tearing.
For beginners, I always point them to the HIDNY United 5% VLT because it is forgiving and shrinks predictably with moderate heat. It is the roll I keep in my own garage, and this is what finally worked for me after I burned through two cheaper brands.
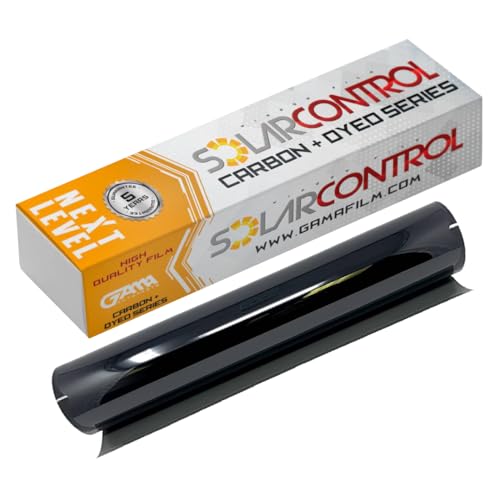
- 99% UV PROTECTION & GLARE REDUCTION: Dyed window tint blocks harmful UV rays...
- DEEP PRIVACY, SMOOTH BLACK LOOK: Non-reflective dyed film gives a clean...
- 25% VLT SHADE, 20" x 100 FT BULK ROLL: Medium 25% VLT balanced shade. Cuts to...
Can dyed film shrink properly if the glass is cold?
No, cold glass is a recipe for frustration. When the glass is cold, the film hardens and resists shrinking, which forces you to use more heat. That extra heat often causes hazing or bubbling.
I always warm the glass first with my heat gun before I even lay the film down. That small step makes the film slide and relax into curves much easier, saving me time and preventing damage.