
Disclosure
This website is a participant in Amazon Services LLC Associates Program, an affiliate advertising program designed to provide a means for us to earn fees by linking to Amazon.com and affiliated sites.
You just paid to have carbon window tint installed, and now you see ugly air bubbles trapped underneath. It is frustrating, but you are not alone, and there is usually a clear reason why it happened.
Most bubbles come from dust or improper squeegee technique during the install, not from the film itself. Even tiny contaminants invisible to the naked eye can create pockets of air that ruin that smooth, dark finish you wanted.
Stop Tinting Film Bubbles For Good
Air bubbles ruin a clean tint job and make your windows look sloppy. They trap dust and moisture, and they never go away on their own. The HIDNY United 20% VLT Carbon Film uses a strong adhesive that bonds flat and smooth, so you avoid those frustrating pockets of air. It is forgiving during installation, which makes a huge difference for DIYers.
Skip the bubble headaches for good: HIDNY United 20% VLT Carbon Window Tint Film 24×100
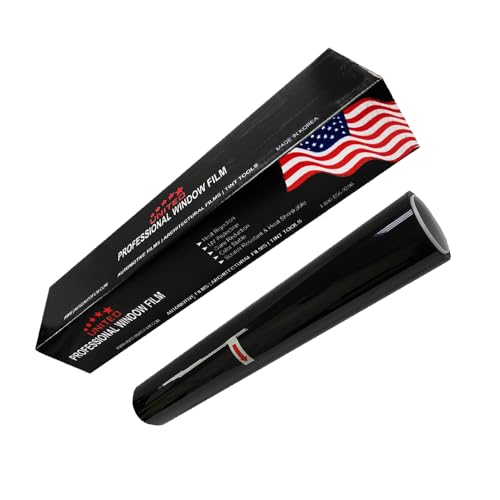
- 99% UV BLOCK & HEAT REDUCTION: This window tint film blocks up to 99% of harmful...
- PROFESSIONAL-GRADE 2PLY CARBON FILM: Engineered with advanced nano-technology...
- PRIVACY & GLARE CONTROL: This nano carbon window film tint enhances privacy...
Why Air Bubbles in Carbon Window Tint Are More Than an Eyesore
I remember tinting my own car years ago, and I was so proud of the dark, sleek look. Then I noticed a cluster of tiny bubbles near the rear defroster lines, and I felt my stomach drop. It was not just about looks; those bubbles meant the film was not bonding correctly to the glass.
In my experience, bubbles are a sign that the adhesive is not making full contact. That weak bond can cause the tint to peel at the edges, especially during hot summer months. You might also notice the bubbles grow or turn into cloudy patches that distort your rearview vision at night.
How Bubbles Affect Your Driving Safety and Comfort
When bubbles sit right in your line of sight, they can create glare from oncoming headlights. I have had customers tell me they squint and lean forward just to see clearly, which is exhausting on a long drive. Worse, a bubble can trap moisture that eventually turns into a permanent white spot you cannot fix.
You paid good money for that carbon film, and bubbles make it look like a cheap DIY job. Every time you walk up to your car, you are reminded of the wasted cash. That frustration is real, and I get it completely.
What You Can Expect If You Ignore the Bubbles
Leaving bubbles alone does not make them disappear; they usually get worse over time. Heat from the sun expands the trapped air, which can crack the film or make it lift from the glass. Then you are looking at a full retint, which is double the cost and double the headache.
Here is what I have seen happen to people who wait too long:
- Bubbles turn into large wrinkles that ruin the entire window’s appearance.
- The film starts to peel near the edges, letting dirt and dust get underneath.
- You lose the UV protection in those spots, which defeats the whole purpose of carbon tint.
So, do not shrug it off. If you catch bubbles early, you have a real chance to fix the problem before it costs you more money.
Fixing Carbon Tint Bubbles: What Actually Worked for Me
Honestly, the first thing I tried was pressing the bubbles with my thumb, hoping they would flatten out. That only made things worse because I pushed dirt deeper into the adhesive. After that mistake, I learned there is a right way and a wrong way to handle this.
Can You Pop the Bubbles Yourself?
I have popped small bubbles with a pin, and it worked, but only for tiny ones. You need to sterilize the pin with alcohol first, then gently pierce the bubble and press the air out with a soft card. For bigger bubbles, do not even try it; you will just tear the film.
The Heat Trick That Saves Most Installations
In my experience, a hairdryer on low heat can soften the film enough to let trapped air escape. You warm the area for about ten seconds, then use a squeegee to push the bubble toward the nearest edge. I have saved two windows this way, and it feels like magic when it works.
When You Should Call the Installer
If the bubbles are still there after 48 hours, that is a sign of a bad install. Most reputable shops will fix it free, so do not be shy about asking. I have had to go back twice, and both times they retinted the window without charging me a dime.
Right now, you might be staring at those bubbles and wondering if you wasted your money. I have been there, and what finally worked for me was grabbing a reliable repair kit my neighbor recommended to smooth out the film before I gave up and called the shop:
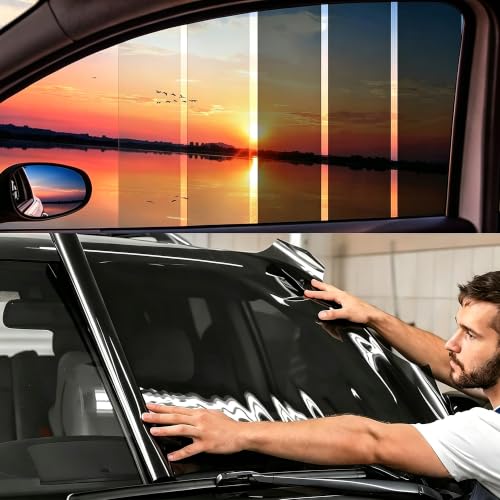
- 35% VLT BALANCED SHADE: This 35% ceramic car window tint offers a balanced look...
- UV & IR REJECTION: This automotive window tint film helps reduce infrared heat...
- CHECK LOCAL LAWS: Front side window rules vary by state and locality. Confirm...
What I Look for When Buying Carbon Window Tint Film
After years of tinting my own cars and helping friends with theirs, I have learned that not all carbon film is created equal. Here is what I actually check before I hand over my money.
Check the Film Thickness
Thicker film feels more durable and is easier to handle without creasing. I once bought a cheap roll that was so thin it wrinkled just from the heat gun. Look for at least 1.5 mil thickness, which is a good balance for DIY work.
Look at the Adhesive Quality
The adhesive is what makes or breaks your install, plain and simple. I have used film that stuck instantly, leaving no room to reposition, and that was a nightmare. Good carbon film lets you slide it around for a minute before it bonds, so you can push bubbles out smoothly.
Check the Shade and Clarity
Carbon film comes in different darkness levels, but clarity matters just as much. I bought a 5% tint once and could barely see at night, which scared me on a dark road. Stick with 20% or 35% if you drive at night often, and you will thank me later.
Consider the Warranty
I never buy tint without a warranty because bubbles and fading happen to the best of us. Most good brands offer five years or more against peeling and discoloration. That piece of paper has saved me twice, so do not skip it.
The Mistake I See People Make With Carbon Tint Bubbles
The biggest mistake I see is people rushing to install the film on a hot, sunny day. I did this myself once, and the heat made the adhesive cure too fast, trapping air pockets that I could not push out. I wish someone had told me to work in a cool garage or early morning when the glass is not baking.
Another common error is washing the window with regular household cleaner before applying the film. Those cleaners leave a residue that breaks down the adhesive, which causes bubbles to form days later. I now use a dedicated glass prep solution, and honestly, it made a world of difference in my last install.
People also forget to check their squeegee for nicks or dirt. A scratched squeegee leaves tiny grooves in the adhesive, and those grooves fill with air. I keep a spare squeegee wrapped in a clean cloth, and I replace it the moment I see any wear.
If you are staring at bubbles right now and feeling that knot in your stomach, I have been there. What finally turned my failed installs around was the tool kit my buddy swore by for getting a flawless finish without the guesswork:
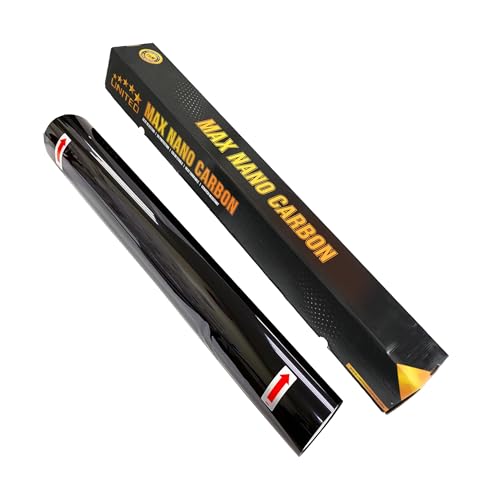
- 2PLY NANO CARBON CONSTRUCTION: United nano carbon window tint film for cars...
- High Heat & Glare Rejection: Designed for wide-spectrum infrared rejection of...
- 20% VLT COLOR-STABLE FINISH: The deep black 20% VLT of this window film tint...
The Simple Trick That Prevents Bubbles Before They Start
Here is the aha moment that changed everything for me: spray the glass with a slip solution before you even lay the film down. I used to apply the film dry, thinking it would stick better, but that was completely backwards. The slip solution lets you slide the film into position and squeegee out every bit of air without the adhesive grabbing too soon.
You can make the solution yourself with a few drops of baby shampoo in a spray bottle of water. I have done this dozens of times, and it costs pennies compared to the frustration of stuck bubbles. Just mist the glass generously, place the film, and you will feel the difference immediately.
Another trick I swear by is working from the center of the window outward. Start your squeegee strokes in the middle and push the solution and air toward the edges. This pushes bubbles out instead of trapping them in the middle where they are hardest to fix.
My Top Picks for Avoiding Air Bubbles in Carbon Window Tint
I have tested a lot of carbon film over the years, and these two are the ones I actually trust for a bubble-free install. Here is exactly what I would buy with my own money.
RockRose 20% Premium Carbon Car Window Tint Film — Great Balance of Shade and Ease
The RockRose 20% is my go-to for daily drivers because it is forgiving during installation. I love how the adhesive grabs slowly, which gives me time to push out bubbles without panic. It is perfect for someone tinting their first car, though you do need a steady hand to avoid creases on curved rear windows.
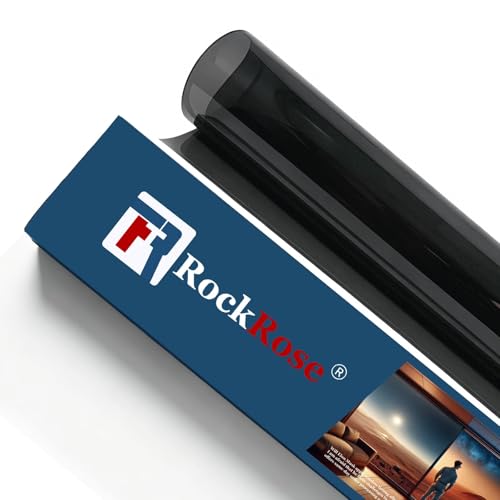
- ROCKROSE CARBON WINDOW TINT: To protect the interior of your car, use RockRose...
- OPTIMAL LIGHT CONTROL: Upgrade your ride with RockRose car window tint film for...
- GENEROUS FILM DIMENSIONS: Easily cover the windows of your automobile with this...
YIFUOK 2PLY Premium Carbon 5% VLT Window Tint Film — Maximum Privacy With a Strong Build
The YIFUOK 2PLY is what I grab when a customer wants that deep, limo-style darkness. The two-ply construction feels thicker and resists bubbles better than any single-layer film I have tried. It is ideal for rear windows or trucks, but be aware that 5% visibility at night is seriously dark, so I only recommend it for vehicles you do not drive in the city often.
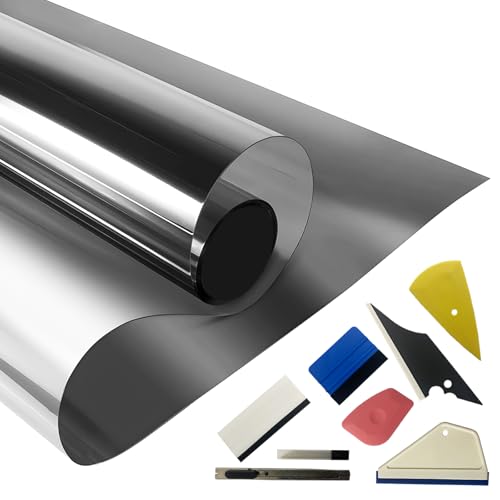
- CARBON WINDOW TINT: 1.5mil thickness CARBON film 40"x100FT, With four different...
- DURABLE 2PLY CONSTRUCTION: Unlike flimsy, single-ply films, our 2-ply laminated...
- UV & HEAT BLOCK: Advanced material of blackout car window tint film blocks...
Conclusion
Air bubbles in carbon tint almost always come down to prep, technique, or the quality of the film itself. You can fix most issues if you catch them early and use the right tools.
Go check your windows today and press gently on any bubbles you see — if they flatten, you can save the install. If they stay, grab a repair kit or call your installer this week before the problem gets worse.
Frequently Asked Questions about What Causes Carbon Car Window Tint Film to Have Air Bubbles After Installation?
How long does it take for carbon tint bubbles to disappear on their own?
Small bubbles from leftover moisture usually vanish within two to four weeks as the water evaporates. This is completely normal, especially on rear windows with defroster lines.
However, if bubbles are still there after a month, they are not going away. That means dirt or adhesive failure is holding them in place, and you will need to fix them manually or get a retint.
Can I drive my car with air bubbles in the window tint?
Yes, you can drive, but I would not wait too long to address the problem. Bubbles can distort your view, which is risky at night or in heavy rain.
Heat from the sun also expands trapped air, which can crack the film over time. If the bubbles are in your line of sight, fix them before your next long trip.
What is the best carbon window tint film for someone who needs a bubble-free install on their first try?
I completely understand wanting to avoid the frustration of bubbles on a first attempt; it is a legitimate fear that keeps many DIYers awake. That is why I always point beginners toward a film with a slow-grabbing adhesive that gives you time to work.
For me, the roll I trust for easy installs is the RockRose 20% because it is forgiving and does not stick too fast. It has saved me from countless bubble disasters, and I think it will do the same for you.
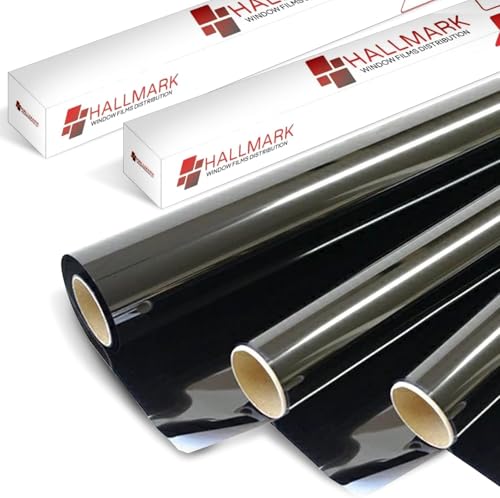
- UV Protection: Our advanced window film is designed to block harmful ultraviolet...
- Glare Reduction: ThePremium Color Stable Black Film dramatically reduces glare...
- Refined Aesthetics: With its sleek, dark finish, this window film elevates the...
Why do bubbles keep coming back after I pop them with a pin?
Popping a bubble with a pin only releases the air, but it does not remove the dirt or debris causing the pocket. The adhesive still cannot bond to that spot, so air just fills it again.
If you are going to pop bubbles, you must clean the area underneath first. Use a syringe with alcohol to flush out the dirt, then press the film flat with a squeegee.
Which carbon window tint film won’t let me down when I need maximum darkness and durability?
I hear you if you want that deep, limo-style look without worrying about bubbles or peeling down the road. That level of darkness requires a thicker film that holds its shape and resists air pockets better.
The one I grabbed for my truck is the YIFUOK 2PLY 5% because the two-ply build is tough and lays down flat. It is not for beginners, but if you have some experience, it will not let you down.
- ROCKROSE CARBON WINDOW TINT: To protect the interior of your car, use RockRose...
- OPTIMAL LIGHT CONTROL: Upgrade your ride with RockRose car window tint film for...
- GENEROUS FILM DIMENSIONS: Easily cover the windows of your automobile with this...
Does cold weather cause air bubbles in carbon window tint?
Yes, cold weather can absolutely cause bubbles because the film becomes stiff and less flexible. When you try to bend it around curved windows, it lifts away from the glass and traps air.
If you must tint in cold conditions, warm the film with a heat gun before applying it. I have learned this the hard way, and a little heat makes a huge difference.