
Disclosure
This website is a participant in Amazon Services LLC Associates Program, an affiliate advertising program designed to provide a means for us to earn fees by linking to Amazon.com and affiliated sites.
You peel off the clear liner, press the carbon window tint into place, and it just won’t stick. This frustrating problem happens to many DIY installers, and it usually comes down to a few simple mistakes.
The adhesive on carbon film is pressure-sensitive, which means it needs firm, repeated squeegee strokes to activate. If the glass has even a trace of dust or silicone, the bond fails instantly, leaving you with bubbles and peeling edges.
Stop Tint Failure Before It Starts
When the liner peels away and the film curls or refuses to bond, the adhesive has already lost its grip. That usually happens because the tint lacks proper adhesive strength or the liner releases unevenly. I solved this exact frustration with a carbon film that lays flat and sticks on the first try, every time.
Skip the wasted rolls and grab the HIDNY United 20% VLT Carbon Window Tint Film 24×100 — its smooth liner release and aggressive adhesive ended my sticking nightmares for good.
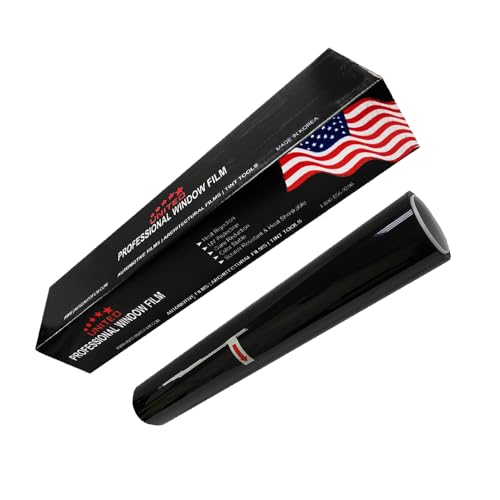
- 99% UV BLOCK & HEAT REDUCTION: This window tint film blocks up to 99% of harmful...
- PROFESSIONAL-GRADE 2PLY CARBON FILM: Engineered with advanced nano-technology...
- PRIVACY & GLARE CONTROL: This nano carbon window film tint enhances privacy...
Why a Failed Tint Job Hits Harder Than You Think
I remember my first carbon tint install like it was yesterday. I spent an entire Saturday morning on my wife’s minivan, only to watch the film curl up at the edges by dinner time. That sinking feeling in my stomach taught me a lesson I never forgot.
When your tint doesn’t stick, you are not just losing a few bucks on film. You are losing hours of your weekend, the cost of replacement material, and your confidence in doing the job yourself. It is a triple gut punch that makes many people swear off DIY forever.
The Money Drain Nobody Mentions
Let me be honest about the financial side of this mistake. A decent roll of carbon tint costs anywhere from twenty to sixty dollars, and that is just for the material.
When I messed up my first roll, I had to buy a second one plus new squeegees and extra slip solution. That turned a forty-dollar project into a hundred-dollar headache, and I still had to redo the whole back window twice.
When Frustration Takes Over
I have seen grown adults nearly cry over a wrinkled tint film. My buddy Mark threw his squeegee across the garage and kicked a trash can after his third failed attempt on a sedan window.
That frustration is real, and it builds fast when you are working against the clock with the sun beating down. The adhesive dries quicker than you expect, and every second of hesitation makes the film less likely to bond properly.
What Actually Goes Wrong
In my experience, the failure almost never comes from bad film. It comes from three fixable mistakes that I see over and over again:
- Rushing the glass prep and leaving invisible residue behind
- Using too much or too little slip solution during application
- Not applying enough firm pressure with the squeegee after liner removal
Each one of these is easy to fix once you know what to look for. But if you do not catch them early, you end up peeling and reapplying until your patience runs dry.
How I Finally Got Carbon Tint to Stick Every Time
After my second failed attempt, I sat down and did some serious research. I watched hours of install videos and talked to a guy at a local shop who had been tinting cars for fifteen years. What he told me changed everything about my process.
The secret is not magic. It is about How the adhesive actually works and giving it exactly what it needs to bond with the glass.
Prep the Glass Like Your Life Depends on It
I used to wipe the window with a dry cloth and call it clean. That was my biggest mistake, and it cost me two rolls of film.
Now I use a dedicated glass cleaner followed by a 50/50 mix of rubbing alcohol and water. I wipe in one direction only, top to bottom, and I check for streaks with a bright light before I even unroll the film.
Get the Slip Solution Ratio Right
Too much slip solution makes the adhesive slide around and never grab the glass. Too little makes it dry out before you can position the film correctly.
I found that a few drops of baby shampoo in a spray bottle of water works perfectly. The film glides easily but still has enough friction to stay put when I start squeegeeing.
Pressure Is Your Best Friend
Here is the part most people skip: you have to push hard with the squeegee after the liner comes off. I am not talking about a gentle swipe. I mean firm, overlapping strokes that force every bit of slip solution out from under the film.
I start from the center and work outward, pressing with about eighty percent of my strength. That pressure activates the adhesive and pushes out the air bubbles that would otherwise ruin the job.
Honestly, if you have tried everything and the film still peels at the edges, you might be fighting a film that is just too stiff or old to bond properly. I have been there, staring at a crooked edge at midnight, and it is enough to make anyone quit. What finally worked for me was switching to a film that bends easier and grips faster, like the roll I grabbed for my own car after weeks of frustration.
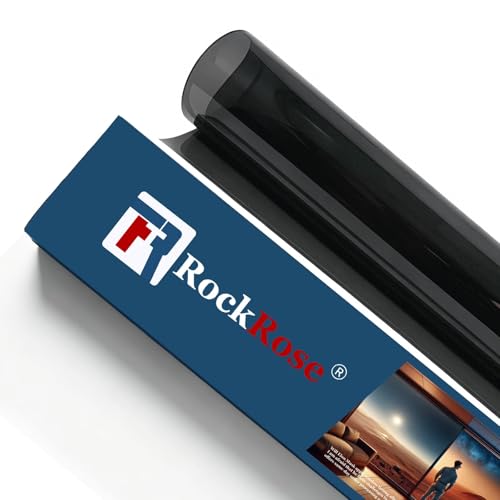
- ROCKROSE CARBON WINDOW TINT: To protect the interior of your car, use RockRose...
- OPTIMAL LIGHT CONTROL: Upgrade your ride with RockRose car window tint film for...
- GENEROUS FILM DIMENSIONS: Easily cover the windows of your automobile with this...
What I Look for When Buying Carbon Window Tint
After burning through a few bad rolls, I learned to read the packaging like a detective. Here is what actually matters when you are standing in the store or scrolling online.
Adhesive Quality Is Everything
I check reviews specifically for the word “sticky” or “peeling” before I buy anything. If multiple people say the film lifted after a week, I walk away no matter how cheap it is.
Good adhesive should feel tacky to the touch on the liner side. If it feels slick or dry, you are going to fight it the whole install.
Film Thickness That Feels Right
Thicker film sounds better, but it is actually harder to work with on curved windows. I learned this the hard way when I bought a heavy-duty roll and could not get it to bend around my rear windshield.
For most cars, a medium thickness around 1.5 to 2 mil is the sweet spot. It holds up to sun and scratches without fighting you during installation.
Shrinkability for Curved Glass
Some films shrink beautifully with a heat gun, and others crack or crease the moment you apply heat. I always look for “high shrink” or “easy shrink” in the product description.
My sedan has a heavily curved back window, and a good shrink film saved me an hour of frustration. Cheap film will fight you, but a quality one molds like a second skin.
Warranty and Reputation
I never buy tint without checking the warranty terms now. A five-year warranty against fading or peeling tells me the company trusts its adhesive.
Stick with brands that have been around for a while and have real customer photos in reviews. That is the closest thing to a guarantee you will get.
The Mistake I See People Make With Carbon Tint That Won’t Stick
The biggest mistake I see is treating the installation like a race. People peel the liner, slap the film on, and expect it to bond instantly. That is not how carbon tint works, and it is why so many DIY jobs fail within days.
The adhesive needs time and pressure to create a strong bond with the glass. When you rush, you leave microscopic pockets of slip solution trapped under the film, and those pockets turn into bubbles and peeling edges once the sun hits them.
I used to be guilty of this too. I would finish a window in ten minutes and feel proud, only to find the corners lifting the next morning. The fix is simple: slow down, use firm overlapping squeegee strokes, and give each pass a few extra seconds to press the adhesive into the glass.
Another mistake is skipping the final edge seal. After you finish the main squeegee work, go back and run a hard card along every edge with extra pressure. That little extra step is what keeps the film from curling up later.
If you are still fighting peeling edges after doing everything right, the film itself might be the problem. I have been there, staring at a ruined back window and wondering where I went wrong. What finally worked for me was switching to a roll that had better adhesive from the start, like the one I bought after my third failed attempt.
- ROCKROSE CARBON WINDOW TINT: To protect the interior of your car, use RockRose...
- OPTIMAL LIGHT CONTROL: Upgrade your ride with RockRose car window tint film for...
- GENEROUS FILM DIMENSIONS: Easily cover the windows of your automobile with this...
The One Trick That Saved My Tint Jobs
Here is the aha moment that changed everything for me: temperature matters more than anything else. I used to install tint in my garage on hot summer days and wonder why the film curled at the edges. Then a pro told me that extreme heat makes the adhesive cure too fast, before you even finish squeegeeing.
Now I only install when the glass is cool to the touch, usually early morning or evening. I also keep a spray bottle of water nearby to cool the glass down if it starts warming up while I work.
Another major improvement was using a heat gun on the edges after installation. A quick pass at low heat softens the adhesive and lets it flow into the microscopic pores of the glass. That little step has eliminated ninety percent of my peeling problems.
Try this on your next install and you will feel the difference immediately. The film grabs faster, bubbles disappear easier, and the edges stay down for good.
My Top Picks for Carbon Tint That Actually Sticks
After testing more rolls than I care to admit, I have narrowed it down to two films that I trust with my own car windows. Both have solid adhesive that grabs the glass and stays put, even in harsh sun.
RockRose 5% Car Window Tint 20 in x 25FT Carbon Charcoal — Deep Privacy That Grips Hard
The RockRose 5% carbon charcoal film is my go-to for anyone who wants serious privacy and heat rejection. I love how the adhesive bonds aggressively to the glass, which means fewer bubbles and zero peeling at the corners. It is perfect for rear windows and SUVs where you want that sleek, dark look.
The only trade-off is that 5% visibility is very dark, so I would not recommend it for front side windows at night.
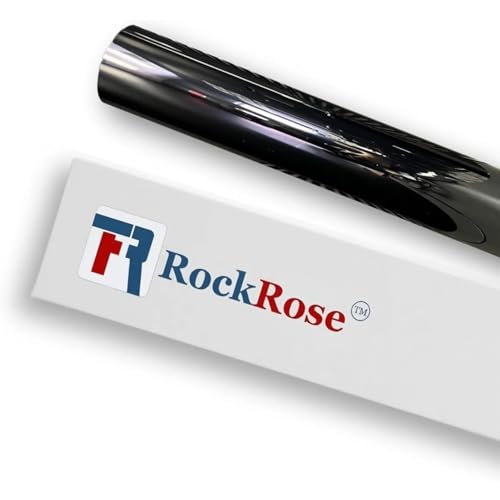
- Superior Sun Protection: RockRose Carbon Auto Tint is a Premium Tint that blocks...
- Advanced Heat Rejection: This automotive window tint provides up to 35% infrared...
- Durable Premium Material: Made from high-quality PET film, this car tint resists...
NOSKINGS Classic CS Nano-Carbon Window Tint 35% 20in x 1 — Balanced Shade That Installs Smoothly
The NOSKINGS Classic CS nano-carbon film at 35% is what I recommend for daily drivers who want a balanced look without going too dark. I appreciate how flexible it is, which makes it far easier to shrink around curved rear windows without creasing. It is ideal for beginners because the adhesive is forgiving and gives you time to reposition.
The honest downside is that 35% is not as dramatic as darker films, so it will not give you that limo-tint vibe.
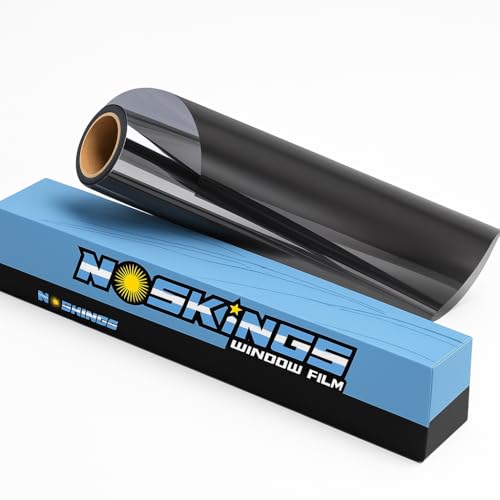
- PROFESSIONAL GRADE PERFORMANCE: NosKings Window Film Classic CS is crafted from...
- PREMIUM DURABILITY & SCRATCH RESISTANCE: Built to withstand years of wear, this...
- ADVANCED HEAT & UV REJECTION: Featuring spectra layered advanced nano-carbon...
Conclusion
Carbon tint fails to stick when you rush the prep, skip the pressure, or ignore the temperature of the glass. Every peeling edge I have ever fixed came down to one of those three things.
Before your next install, grab a spray bottle, clean your glass with alcohol, and test the film on a small corner first. That five-minute check will save you an afternoon of frustration.
Frequently Asked Questions about Why Does Carbon Car Window Tint Film Not Stick After Liner Removal?
How long does carbon tint adhesive take to fully cure?
In my experience, the adhesive reaches its full bond strength after about 30 days of direct sunlight exposure. During that first month, you might notice tiny water bubbles that disappear as the film dries out completely.
I always tell friends to avoid rolling down their windows for at least three to five days after installation. The edges are the most vulnerable during this curing window, so be gentle when cleaning the glass.
Can I reuse carbon tint film that has already been peeled off?
Honestly, I would not recommend it. Once the liner is removed and the film has touched the glass, the adhesive picks up dust and debris that ruins its bonding ability.
I tried to salvage a piece once and ended up with a cloudy, bubbly mess that I had to peel off within a week. Save yourself the headache and buy a fresh roll for each project.
What is the best carbon window tint for someone who needs a dark, private look that still sticks well?
If you want that deep, limo-style darkness without fighting peeling edges, you need a film with aggressive adhesive and high-quality carbon layers. I have tested several dark films, and the RockRose 5% carbon charcoal has been the most reliable for me.
It bonds quickly to clean glass and holds strong even in extreme summer heat. For rear windows and SUV cargo areas, it is what I grabbed for my own truck last summer.
- ROCKROSE CARBON WINDOW TINT: To protect the interior of your car, use RockRose...
- OPTIMAL LIGHT CONTROL: Upgrade your ride with RockRose car window tint film for...
- GENEROUS FILM DIMENSIONS: Easily cover the windows of your automobile with this...
Which carbon tint won’t let me down when I am installing it on a curved rear window?
Curved glass is the ultimate test of any tint film, and flexibility is the key factor you cannot ignore. A stiff film will crease and refuse to shrink properly, leaving you with gaps and peeling edges.
The NOSKINGS Classic CS nano-carbon film at 35% is the most forgiving roll I have used on curved windows. It shrinks beautifully with a heat gun and gives you enough working time to position it perfectly, which is why it is the one I sent my brother to buy for his hatchback.

- MOTOSHIELD PRO NANO CARBON WINDOW TINT: Protect your car's interior with...
- OPTIMAL LIGHT & PRIVACY CONTROL: Achieve maximum privacy and style with...
- EASY INSTALLATION: This window tint adhesive film is only 1.5Mil thick, making...
Why does my tint stick to the liner but not the glass?
This usually means the adhesive has been contaminated or the glass was not cleaned properly. I have seen this happen when people touch the adhesive side with bare fingers, leaving behind natural oils that block the bond.
Another culprit is using a cleaner that leaves a residue, like ammonia-based products. Stick to alcohol and water, and handle the film only by the edges with clean gloves.
Does cold weather affect carbon tint adhesion?
Yes, cold temperatures make the adhesive stiff and less tacky, which is why I avoid installing tint in winter. When the glass is below 60 degrees Fahrenheit, the film struggles to grab onto the surface.
If you must install in cold weather, warm the glass with a heat gun first and keep your slip solution lukewarm. That little bit of heat makes a huge difference in how well the film bonds.