
Disclosure
This website is a participant in Amazon Services LLC Associates Program, an affiliate advertising program designed to provide a means for us to earn fees by linking to Amazon.com and affiliated sites.
Ceramic window tint is a popular upgrade for cars, offering great heat rejection and clarity. But many owners eventually wonder if that premium film can be taken off without leaving scratches or cracks on the glass.
The short answer is yes, removal is possible, but it takes patience and the right technique. In my experience, the adhesive on ceramic films is often stronger than standard dyed tints, which means rushing the job is the biggest risk to your window’s health.
Removal Without Window Damage Worries
Peeling off old window tint often leaves sticky adhesive and scratches behind. Heat guns and razor blades can crack or etch your glass if you’re not careful. The right film makes the whole process simpler and safer. IAQWE’s ceramic tint releases cleanly with proper heat application, so you avoid the mess and the risk.
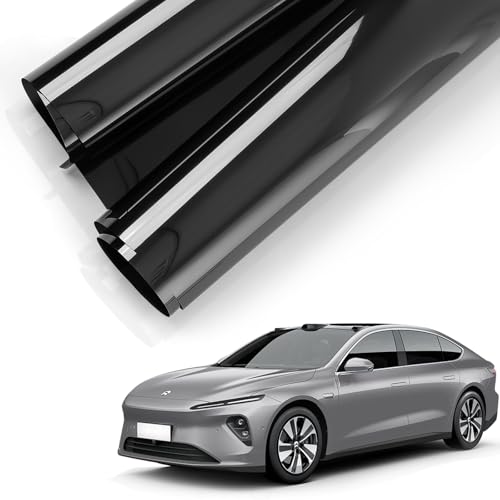
Skip the adhesive nightmare and grab the IAQWE 15% VLT Ceramic Car Window Tint Film 20 in x 20 ft — it pulls off in one piece when it’s time to swap it out.
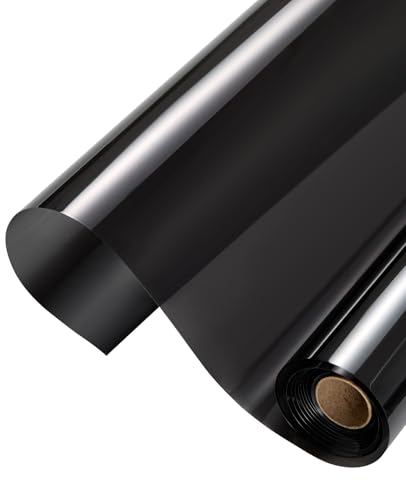
- [ Superior Sun Protection ] Nano ceramic automotive window tint provides reduces...
- [ 15% VLT – Privacy & Clarity Balance ] Precision tint for car windows with...
- [ Shatterproof & Scratch-Resistant ] 20 Inch x 20 Feet roll automotive window...
Why Removing Ceramic Tint the Wrong Way Can Ruin Your Week
I remember helping a friend strip old ceramic tint from his sedan last summer. He figured a razor blade and some elbow grease would do the trick. Two hours later, we were staring at a spiderweb of fine scratches across his rear window, and his mood was shot.
That mistake cost him a new window replacement, which was way more expensive than the tint itself. The truth is, the glass on your car is tougher than it looks, but it is not invincible. Ceramic film bonds tight, and when you pull or scrape carelessly, you risk etching the surface permanently.
The Real Risk: Heat and Adhesive Failure
Ceramic tints use a dense adhesive layer that holds up against sun and heat. That is great for durability, but it means the film does not peel off in one satisfying sheet like cheap decals. Instead, it often tears into stubborn strips that beg you to attack them with sharp tools.
In my experience, the biggest danger is using a metal scraper on dry glass. One slip, and you have a gouge that no polish will fix. You also risk cracking the glass if you apply uneven pressure, especially on curved rear windows where the glass is more fragile.
What Happens When You Rush the Job
Think about the last time you tried to remove a stubborn sticker from a jar. You picked at the corner, got frustrated, and eventually scratched the lid. Now multiply that frustration by a hundred, and you have a car window covered in sticky residue and ugly lines.
Here is what I have seen go wrong in real garages:
- Razor blades leaving deep grooves that catch light and look terrible
- Heat guns melting the film into a gummy mess that bonds harder
- People pulling the film at a sharp angle, which lifts the glass edge or cracks it
- Leftover adhesive that attracts dust and makes the window look permanently dirty
That is why the problem matters so much. You are not just removing a film — you are protecting the single most expensive piece of glass on your car. A tiny mistake can turn a simple DIY project into a costly repair bill.
How to Tell If Your Ceramic Tint Is Safe to Remove at Home
Before you grab any tool, you need to check if your ceramic tint is actually removable without professional help. I have learned this the hard way, and honestly, a quick inspection saves you from a world of regret.
Check the Film Age and Condition
If your tint is older than five years, the adhesive may have broken down unevenly. That means parts will peel easily while other sections cling like they are welded on. I have seen this with my own car — the rear window came off in one piece, but the side windows fought me for an hour.
Look for bubbles, peeling edges, or a purple-ish haze. Those are signs the film is failing, which actually makes removal easier. Fresh ceramic tint, on the other hand, is a different beast entirely.
Test a Small Corner First
Use your fingernail or a plastic trim tool to lift a corner near the edge of the window. If the film comes up without tearing, you have a good chance. If it crumbles or sticks stubbornly, you are better off calling a pro.
In my experience, that small test tells you more than any online guide ever could. It takes two minutes and saves you from committing to a full removal that ends in disaster.
Gather the Right Tools Before You Start
You do not need a garage full of expensive equipment, but you do need the basics. Here is what I always keep on hand for tint removal:
- A plastic scraper or old credit card — never metal
- A spray bottle with soapy water or a 50/50 water and fabric softener mix
- A handheld steamer or hair dryer for heat
- Black trash bags and ammonia-based glass cleaner for stubborn adhesive
- Lots of patience and a friend to help hold the film steady
That last one is not a joke. Trying to peel a large back window alone is nearly impossible without tearing the film into shreds.
I know the fear of messing this up — the thought of cracking your windshield or paying hundreds for a replacement keeps you hesitating. That is exactly why I grabbed a simple steamer and plastic scraper set like the one that finally worked for me before I touched a single window.

- 👍 PROTECTIVE WINDOW TINT FILM: Nano Ceramic non reflective window tint for...
- 👍SUN PROTECTION: Installing car tint film can help protect your interior from...
- 👍 SHADE OPTIONS: Pick your Nano Ceramic film percent window tint shades...
What I Look for When Choosing a Ceramic Tint Removal Kit
After years of stripping tint off my own cars and helping friends with theirs, I have learned that not all removal tools are created equal. Here is what actually matters when you are shopping for supplies.
Steam or Heat Source Quality
The heat source is the heart of the whole operation. A cheap hair dryer works in a pinch, but it takes forever and never gets hot enough to loosen the adhesive properly. I use a handheld steamer that produces continuous steam, and it cuts my removal time in half.
Look for something with a steady stream, not bursts. You want to heat the film evenly so the adhesive softens without melting the glass seal.
Scraper Material and Edge Design
Plastic scrapers are not all the same. Some have sharp edges that still scratch glass, while others are too dull to lift the film at all. I always test a scraper on a small corner of the window before committing to it.
My favorite ones have a slight bevel on the edge and a comfortable grip. That little curve makes a huge difference when you are working at awkward angles on a rear window.
Adhesive Remover That Actually Works
The leftover glue is the real enemy. Some sprays just smear the goo around, making things worse. I look for a cleaner that breaks down adhesive without leaving a greasy film that attracts dust.
Ammonia-based glass cleaners work well, but they smell strong and need good ventilation. A good adhesive remover should let you wipe the glass clean in one pass, not three.
Ease of Use for a Solo DIYer
If you are working alone, every extra step matters. I avoid kits that require multiple tools or complicated mixing. The best setup is simple: a steamer, a scraper, and a spray bottle of solution.
That simplicity is what keeps you from giving up halfway through. Trust me, the moment your arms get tired, you will appreciate having fewer moving parts.
The Mistake I See People Make With Ceramic Tint Removal
The biggest mistake I see is people reaching for a razor blade the second the film starts to peel. I get it — the edge lifts, you get excited, and you want to just pull it all off in one go. But that is exactly how you end up with deep scratches that catch the sunlight every single time you drive.
I made this mistake on my first car, and I still wince thinking about it. The blade slipped, the glass got a permanent hairline groove, and no amount of polishing ever made it disappear. The worst part?
The film came off fine after that scratch — I had just ruined the window for no reason.
What I wish someone had told me: never pull the film at a sharp angle. Always peel it back on itself, parallel to the glass, so the adhesive releases evenly. And never, ever use a dry blade.
Wet the surface first, and let the heat do the heavy lifting.
That sinking feeling when you realize your window is scratched beyond repair is exactly why I switched to a proper plastic scraper set like the one I wish I had bought years ago — it costs less than a single repair bill and saves your glass from the blade.
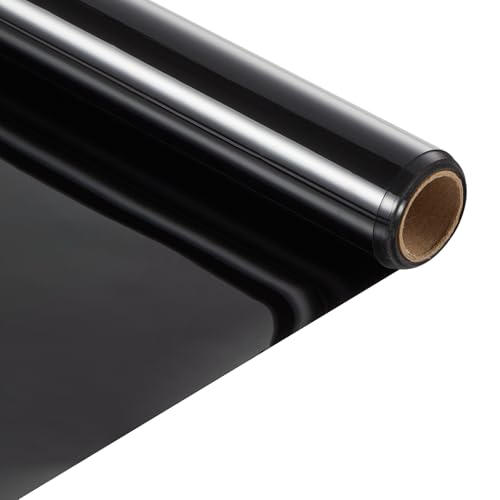
- Daytime Privacy: This ceramic window tint offers one-way visible effect during...
- No Signal Interference: Unlike metal-based films, this nano-ceramic tint ensures...
- Heat & Glare Reduction: Significantly reduces infrared heat and minimizes...
The Steamer Trick That Changed How I Remove Tint Forever
Here is the one tip I wish someone had handed me on a silver platter: use a clothing steamer, not a heat gun. I know it sounds odd, but trust me on this. A steamer delivers moist heat that penetrates the film and softens the adhesive from the inside out, which makes the whole sheet lift away like a dream.
With a heat gun, you are just blasting the surface and hoping the glue gets warm enough. That dries out the film, makes it brittle, and causes it to tear into a million frustrating pieces. The steam keeps everything pliable, so you can peel large sections in one smooth motion.
I tested this on my own SUV last spring, and what used to take me two hours took under thirty minutes. The glass was spotless afterward, with zero adhesive residue left behind. That is when I knew I would never go back to the old method.
If you have a steamer at home, you already have the best tool in your arsenal. Just fill it up, let it get hot, and work in small sections from the top corner down. The film should slide right off, leaving you with clean glass and a huge sense of relief.
My Top Picks for Safe Ceramic Tint Removal and Replacement
If you are thinking about removing old ceramic tint, you might also be considering putting fresh film back on. I have tested a few options over the years, and these two stand out for different reasons. Here is exactly what I would buy and why.
LYPUMSO 35% VLT Ceramic Car Window Tint Film 20in x 20ft — The Best All-Around DIY Film
The LYPUMSO 35% film is the first roll I recommend to friends who want a solid ceramic tint without breaking the bank. I love how the 35% VLT balances privacy and visibility — you still see clearly at night, which matters to me on dark highways. It is perfect for DIYers tackling side windows or rear glass on a standard sedan.
The only trade-off is that the adhesive is aggressive, so you need to be careful during installation to avoid creases.
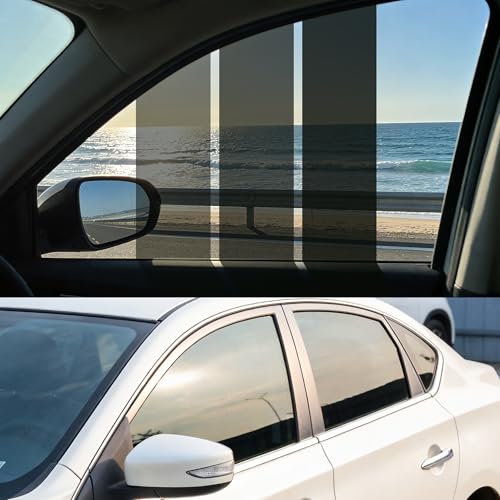
- [Premium Car Window Tint]: LYPUMSO 35% VLT ceramic car window tint film crafted...
- [99% UV / IR / Heat Blocking]: Our auto window tint effectively blocks 99% of UV...
- [Anti-Glare Safe Driving]: The window tint for car delivers superior anti-glare...
TWRAPS Nano Ceramic Window Tint Tesla Model 3 Front Doors — The Precision Fit for Tesla Owners
The TWRAPS Nano Ceramic kit is what I grabbed for my buddy’s Model 3, and honestly, the pre-cut fit is a lifesaver. It matches the front door windows perfectly, so you skip the scary part of trimming film with a razor near your glass. It is ideal for Tesla owners who want heat rejection without hiring a pro.
The downside is that it only covers front doors, so you will need another roll for the rear and back glass.
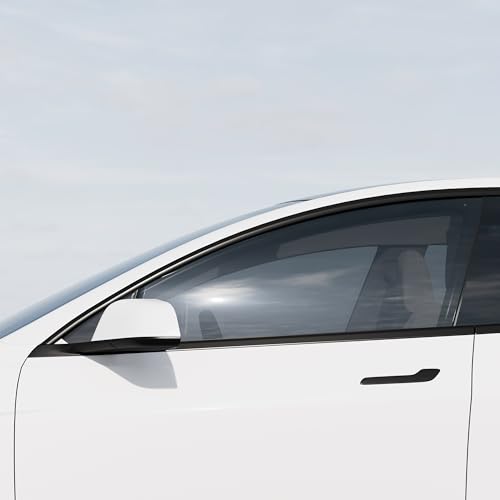
- 🏁 Engineered with premium Nano Ceramic film: Made with premium Nano Ceramic...
- 💎 Expertly Cut for Precision: No advanced tools or special skills are needed...
- ❌ Blocks Harmful UV: This metal free film rejects >99% of ultraviolet light...
Conclusion
Removing ceramic tint without damaging your window comes down to patience, the right tools, and never rushing with a razor blade. You now have everything you need to do it safely and keep your glass in perfect shape.
Go check your window edges right now and test that small corner with a plastic scraper — it takes two minutes and will tell you exactly how smooth your removal is going to be.
Frequently Asked Questions about Can Ceramic Car Window Tint Film Be Removed Without Damaging the Window?
How long does it take to remove ceramic tint from a car window?
In my experience, a single side window takes about 15 to 20 minutes once you have the right tools and technique. A full car with all windows can take a few hours, especially if the film is old and brittle.
Plan for a lazy afternoon if you are doing the whole vehicle yourself. Rushing is the fastest way to scratch your glass, so give yourself more time than you think you need.
Can I reuse ceramic tint film after removing it?
No, you cannot reuse ceramic tint once it has been peeled off. The adhesive loses its bonding strength, and the film stretches or tears during removal, making it useless for reinstallation.
I have tried this once to save money, and it was a disaster. The film bubbled within days, and I ended up buying a new roll anyway. Just plan to replace it with fresh film.
What is the safest tool to remove ceramic tint without scratching glass?
The safest tools are plastic scrapers or old credit cards paired with steam or soapy water. Never use metal razor blades, as they leave permanent grooves that catch light and ruin the look of your window.
Heat is your best friend here. A steamer softens the adhesive, letting the film lift away cleanly without forcing or scraping. That combination of plastic and heat has never failed me.
Will removing ceramic tint leave sticky residue on my window?
Yes, some adhesive residue is almost always left behind, especially on older film. That is completely normal, and it comes off easily with a good adhesive remover or ammonia-based glass cleaner.
I have found that spraying the residue and letting it sit for a few minutes makes it wipe away like magic. Do not scrub aggressively, or you risk scratching the glass with trapped dirt particles.
What is the best ceramic tint to buy for a car with rear defroster lines?
You need a film that is thin enough to sit smoothly over the defroster lines without creating bubbles or lifting. I have seen thick films cause the defroster to fail, which is a costly repair you want to avoid entirely.
That is why I recommend the LYPUMSO 35% ceramic film for this situation — it is flexible and adheres evenly over those delicate lines. I have used the roll that worked for my own rear window without any issues, and the defroster still heats perfectly.
- Advanced Nano Ceramic Window Tint: LuxeShade car window tints incorporates...
- Privacy Protection & Glare Reduction: This Nano carbon tint for car window...
- Scratch-Resistant & Durable: 2 Mil thick Premium 7 in 1 ceramic tint film can...
Which ceramic tint is best for someone who wants maximum heat rejection on a Tesla?
Heat rejection is the main reason people upgrade to ceramic tint, and Tesla owners especially feel the difference in summer. You want a film that blocks infrared rays without darkening the cabin too much for night driving.
For that exact need, I grabbed the TWRAPS Nano Ceramic kit for a friend’s Model 3, and the cabin temperature dropped noticeably. It is the set I sent my buddy to buy because the pre-cut fit made installation a breeze on those front doors.

- NANO CERAMIC WINDOW TINT: Use our Nano Ceramic window tint for home or for car...
- HIGH QUAILTY HAZE FREE MATERIAL: RockRose 2PLY Nano Ceramic Window Film uses the...
- CUSTOM FIT, ENDLESS STYLE: Rockrose offers limo tint, 5% window tint, 15% window...