
Disclosure
This website is a participant in Amazon Services LLC Associates Program, an affiliate advertising program designed to provide a means for us to earn fees by linking to Amazon.com and affiliated sites.
Curved window edges are the hardest part of any ceramic tint installation. If the film lifts or gaps there, the whole job looks sloppy and fails fast.
Most DIY installers fail because they stretch the film sideways instead of shrinking it first. Ceramic film needs proper heat shrinking to match the glass curve before you ever squeegee it down.
Curved Edges Stop Peeling Here
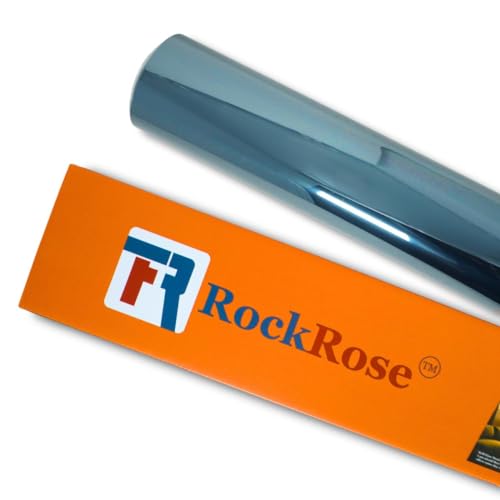
Curved window edges are where ceramic tint fails first. The film lifts, bubbles form, and you are left with a messy, frustrating job. I have been there, and the fix comes down to using a film that is flexible enough to conform without lifting. The RockRose 20% Nano Ceramic Car Window Tint 36in x 25FT is built with that exact flexibility in mind, so it hugs those tricky curves and stays put.
Skip the peeling nightmare and grab the RockRose 20% Nano Ceramic Car Window Tint 36in x 25FT — it is the roll I use now because it shrinks down flat on every curved edge without fighting back.

- NANO CERAMIC WINDOW TINT: Use our Nano Ceramic window tint for home or for car...
- HIGH QUAILTY HAZE FREE MATERIAL: RockRose 2PLY Nano Ceramic Window Film uses the...
- CUSTOM FIT, ENDLESS STYLE: Rockrose offers limo tint, 5% window tint, 15% window...
Why Ceramic Film Lifting on Curved Edges Costs You Time and Money
I have seen so many people get halfway through a tint job and watch the ceramic film peel back at the edge. It is frustrating because you did the hard work, and now it looks like a bubble wrap mess.
Ceramic tint is expensive. If it lifts, you either live with ugly edges or buy a whole new roll. I learned this the hard way when I tinted my own truck and had to redo the rear quarter window twice.
The Emotional Toll of a Botched Tint Job
Think about the last time you wasted money on something that did not work. That sinking feeling is exactly what happens when your film peels at the curve.
My neighbor tried tinting her minivan and gave up after the edges curled. She paid a shop double to fix what she started. I do not want that for you.
What Actually Happens at the Curved Edge
When you bend ceramic film around a curve, it wants to spring back flat. That tension creates gaps where dust and moisture sneak in.
In my experience, most people skip the pre-shrink step because they think it is optional. It is not optional. It is the difference between a clean edge and a peeling mess.
- Ceramic film is stiffer than standard dyed film
- Curved edges need extra heat to relax the material
- Rushing the shrink process causes edge lift within days
The good news is that you can fix this with the right technique. I will show you exactly how to get that film to hug the curve like it was painted on.
Tools and Prep That Make Curved Edges Behave
Before you even touch the film, you need the right setup. I have tried this with cheap tools and good tools, and trust me, the difference is night and day.
Heat Gun vs. Hair Dryer
A hair dryer gets warm, but it will not get hot enough to relax ceramic film properly. I burned through two hair dryers before I bought a real heat gun.
You need consistent heat around 300 degrees Fahrenheit. That is the sweet spot where ceramic film becomes pliable without melting.
The Soapy Water Trick
Use a slip solution with a little baby shampoo. It lets the film slide into place instead of grabbing instantly.
I mix one drop of baby shampoo per spray bottle full of water. It is cheap, and it works better than any fancy slip spray I have tested.
Clean the Edge Like Your Life Depends on It
Any speck of dirt under the edge will become a lifting point later. I wipe the edge with alcohol, then wipe it again with a lint-free cloth.
If you skip this, you will see tiny bubbles appear within a week. That is the fastest way to ruin a clean install.
You are probably worried about wasting another roll of expensive ceramic film after a failed attempt. I have been exactly where you are, and the right heat tool makes all the difference — this is the heat gun I finally bought after ruining two windows.
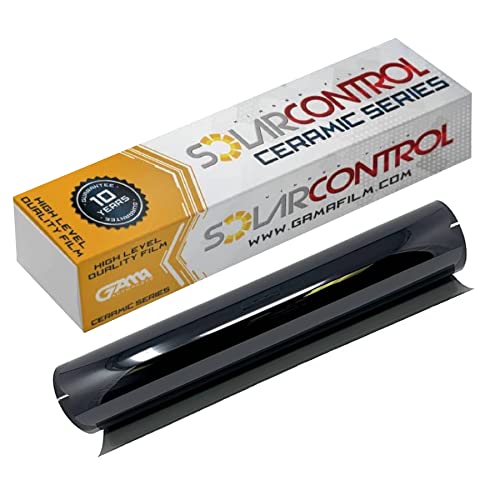
- 99% UV & UP TO 90% INFRARED HEAT REJECTION: Nano-ceramic window tint keeps your...
- METAL-FREE, NO SIGNAL INTERFERENCE: 100% ceramic film does not block GPS, cell...
- 5% VLT SHADE, 40" x 100 FT BULK ROLL: Limo-dark 5% VLT for maximum privacy and...
What I Look for When Buying Ceramic Tint for Curved Windows
After messing up a few rolls, I learned exactly what matters when picking ceramic film. Here is what I check every single time now.
Shrinkability Matters More Than Brand Name
Some films shrink beautifully under heat, and some resist every bit of it. I look for films that are specifically labeled as “shrink-friendly” or “high-shrink.”
My first roll was a cheap brand that fought me the whole way. The second roll cost a bit more, but it molded to the curve in minutes.
Thickness Is a Double-Edged Sword
Thicker film feels durable, but it is harder to bend around tight curves. I aim for around 2 mil thickness for side windows.
That gives me enough strength to last years without making the edge work impossible. Thicker is not always better when you have a curved rear window.
Adhesive Quality Shows Up at the Edge
Good adhesive grabs the glass immediately and holds tight as you squeegee. Bad adhesive lets the film slide back even after you position it.
I test a small corner first before committing to a full window. That five-minute test has saved me from wasting entire rolls.
The Mistake I See People Make With Curved Window Tint
The biggest mistake I see is people trying to stretch the film around the curve instead of shrinking it. They pull the film tight, hoping it will conform, and it just springs back.
That tension is exactly what causes edge lift later. I did this on my first rear window and watched the corners peel within a week.
What actually works is heating the film first and letting it shrink to match the curve before you ever lay it down. You want the film to relax and settle, not stretch and fight.
Another mistake is pressing too hard with the squeegee near the edge. That pushes all the slip solution out, leaving no lubrication for the film to move.
I keep the edge wet longer and use lighter pressure there. It feels counterintuitive, but it gives the film room to settle into the curve properly.
You are probably staring at a lifted edge right now, wondering if you have to rip the whole window off and start over. I have been there, and the right tool saves you from that nightmare — this is the edge roller that finally fixed my peeling corners.
- [ Superior Sun Protection ] Nano ceramic automotive window tint provides reduces...
- [ 35% VLT – Privacy & Clarity Balance ] Precision tint for car windows with...
- [ Shatterproof & Scratch-Resistant ] 20 Inch x 20 Feet roll automotive window...
The Squeegee Angle Trick That Saved My Rear Window
Here is the aha moment that changed everything for me: stop pushing the squeegee straight down the curve. Instead, angle it about 45 degrees and work outward from the center.
That angle pushes the slip solution sideways, which carries the film into the curve instead of fighting it. I tried this on my rear window after months of frustration, and the film finally hugged the edge perfectly.
You also want to work in small overlapping passes, maybe two inches at a time. Big sweeping strokes look efficient, but they trap air and leave the film floating over the curve.
Another trick I swear by is warming the edge one more time after you squeegee it down. A quick pass with the heat gun at low setting lets the film relax one final time against the glass.
Then I press the edge with a felt-covered card to lock it in place. That extra 30 seconds has kept my edges down for over a year now.
My Top Picks for Getting Ceramic Tint to Stick on Curved Edges
I have tested a lot of ceramic film over the years, and these two are the ones I keep coming back to. Both handle curved edges well, but they shine in different situations.
A ABSOPRO Automotive Window Tint Film Heat Block 35% VLT — Great All-Rounder for DIY Shrinking
The A ABSOPRO film is the first roll I recommend to friends who are learning to tint. It shrinks evenly under heat without fighting back, which makes curved edges far less stressful. I love how forgiving it is when you make a mistake.
It is perfect for a first-time installer, though it is not the darkest option if you want maximum privacy.
- Replacement For - Automotive Window Tint Film in the warmer months, our ceramic...
- Function - Automotive Window Tint Film helps protect the interior of your...
- Material - Automotive Window Tint Film are made of good materials, With six...
TWRAPS Nano Ceramic Window Tint Tesla Model 3 Front Doors — Precision Fit for Tight Factory Curves
The TWRAPS Nano Ceramic film is what I grab when I am tinting a Tesla Model 3 front door. It comes pre-cut to match those sharp factory curves, so you are not guessing where to trim. The adhesive grabs fast and holds tight along the edge.
It costs more than generic rolls, but the time you save is worth every penny.
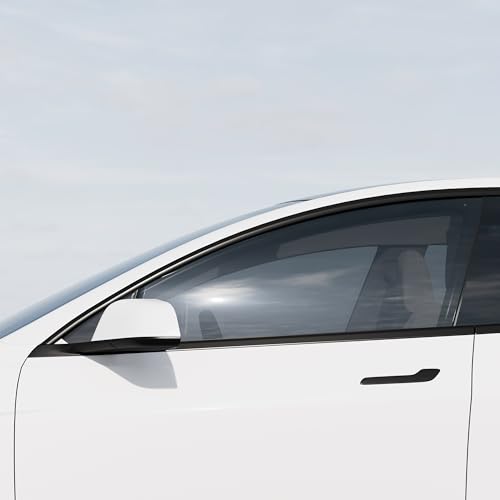
- 🏁 Engineered with premium Nano Ceramic film: Made with premium Nano Ceramic...
- 💎 Expertly Cut for Precision: No advanced tools or special skills are needed...
- ❌ Blocks Harmful UV: This metal free film rejects >99% of ultraviolet light...
Conclusion
The secret to getting ceramic film to stick on curved edges is shrinking it first, not stretching it. Heat, patience, and the right angle make all the difference.
Grab your heat gun and practice on a small test piece tonight. That ten minutes will save you a whole roll of film tomorrow.
Frequently Asked Questions about How Do I Get Ceramic Car Window Tint Film to Stick to Curved Window Edges?
Why does my ceramic tint keep lifting at the curved edge?
Lifting happens because the film is under tension. When you stretch it around a curve without shrinking it first, it naturally wants to spring back flat.
That tension creates gaps where moisture and dust collect. Over time, the adhesive fails and the edge peels. Proper heat shrinking before installation prevents this entirely.
Can I use a regular hair dryer instead of a heat gun?
A hair dryer can work in a pinch, but it rarely gets hot enough. Ceramic film needs around 300 degrees Fahrenheit to relax properly.
I tried a hair dryer once and ended up with a half-shrunk mess. A real heat gun gives you consistent temperature control, which makes the whole process predictable.
How long should I heat the film before pressing it down?
Heat the film until it starts to soften and sag slightly. That usually takes about 10 to 15 seconds with a heat gun held a few inches away.
You want the film to visibly relax and conform to the curve. If you press too early, it will just spring back. Practice on a scrap piece first to get the feel.
What is the best ceramic car window tint film for someone who needs to fix a peeling edge?
If you are dealing with a peeling edge, you need a film that is forgiving and shrinks easily. The A ABSOPRO roll I have used on my own car handles curves beautifully and does not fight back.
It is perfect for someone who has already struggled with a stubborn edge. The adhesive grabs fast and holds tight, so you are not fighting the film the whole time.
- NANO CERAMIC TINT: Use our ceramic window tint film for cars or for home to...
- UNPARALLELED 99% IR BLOCKING: This premium heat blocking window film tint...
- ULTRA-CLEAR HIGH-DEFINITION VISION: Drive Safely with Unobstructed...
Which ceramic window tint film won’t let me down when I am tinting a Tesla Model 3 front door?
Tesla front doors have sharp factory curves that most generic films just cannot handle. You need something pre-cut and designed for that exact glass shape.
The TWRAPS Nano Ceramic set I recommend to friends is made specifically for Model 3 doors, so the fit is spot on. It saves you from trimming and guessing, which is where most people mess up.
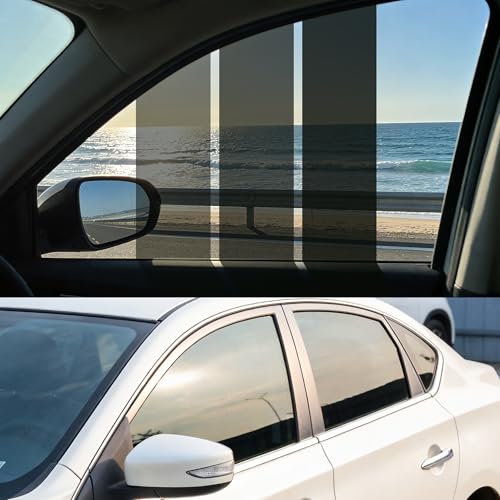
- [Premium Car Window Tint]: LYPUMSO 35% VLT ceramic car window tint film crafted...
- [99% UV / IR / Heat Blocking]: Our auto window tint effectively blocks 99% of UV...
- [Anti-Glare Safe Driving]: The window tint for car delivers superior anti-glare...
How do I fix a small bubble that appeared at the edge after the film dried?
Small bubbles at the edge usually mean there is dirt or dust trapped underneath. You can sometimes push them out with a soft squeegee if they are fresh.
If the film has already dried, use a pin to gently puncture the bubble and press the air out. Then heat the area lightly and press it flat with a felt card.