
Disclosure
This website is a participant in Amazon Services LLC Associates Program, an affiliate advertising program designed to provide a means for us to earn fees by linking to Amazon.com and affiliated sites.
Air pockets are the enemy of a clean security window film installation. If you’ve ever pressed film onto glass only to see bubbles trapped underneath, you know how frustrating it is.
These pockets are usually caused by dust, improper squeegee technique, or moving the film too fast. The secret is slowing down and using a slip solution generously before the film ever touches the glass.
Air Pockets Ruin Window Film
Bubbles and creases make your window film look messy and weak, and they never seem to go away. When I first tried installing security film, air pockets left the edges lifting and the glass looking cloudy. This film lays down flat and smooth, so you can push out trapped air before it becomes a permanent problem.
Skip the bubble frustration, grab the MEGICOLIM 4mil Clear Security Window Film Shatterproof

- ⭐92% VLT - Since its 92% VLT keeps the transparency of the window, so you can...
- ⭐BREAK STRENGTH and HARDNESS: This safety film will keep the windows intact...
- ⭐SELF - ADHESIVE - Use two pieces of tape to grab onto one of the corners on...
Why Air Pockets Ruin More Than Just the Look
I remember the first time I tried to install security film on my kids’ bedroom window. I was in a hurry, the film wrinkled, and I ended up with a giant silver bubble right in the middle of the glass. It looked terrible, but worse than that, it meant the film wasn’t doing its job.
Air pockets aren’t just an eyesore. They create weak spots where the film can’t bond fully to the glass. That means in a storm or a break-in attempt, the film is more likely to peel away instead of holding the shattered glass together.
You’re paying for safety, and bubbles quietly take that safety away.
The Emotional Toll of a Botched Installation
In my experience, a bad film job feels personal. You spend money, you set aside an afternoon, and then you’re staring at a bubbly mess that reminds you of your failure every single day. My neighbor tried it once and gave up completely, convinced the product was junk.
It wasn’t the film’s fault—it was technique.
That frustration is real. But here’s the good news: with a few simple steps, you can avoid that heartbreak entirely.
What Actually Causes Those Pesky Bubbles
Most air pockets come from three simple mistakes. First, rushing the squeegee pass. Second, skipping the soapy water solution.
Third, letting dust land on the adhesive before you lay the film down.
- Dust and lint act like tiny pebbles under the film
- Dry film grabs the glass too fast and traps air
- Uneven pressure from the squeegee leaves gaps
Once you understand these culprits, you can start fixing them before they happen. Prevention is always easier than repair.
My Step-by-Step Method for Bubble-Free Film
Honestly, what worked for us was slowing way down and treating the glass like a delicate surface. I learned this after ruining two rolls of film on my bathroom window. Now I follow the same routine every single time, and I rarely see a single bubble.
Prep the Glass Like Your Life Depends on It
Before the film ever comes out of the box, I clean the window with a razor scraper and a mild soapy solution. This removes every speck of old adhesive, grease, and dust. I also wipe the edges with a lint-free cloth because that’s where hidden debris likes to hide.
A clean surface is half the battle. If the glass isn’t perfect, the film will show every flaw.
The Slip Solution Is Your Best Friend
I mix a few drops of baby shampoo into a spray bottle of water. This creates a slick layer that lets me slide the film into place without it grabbing prematurely. Generously spray both the glass and the adhesive side of the film before laying it down.
Work From the Center Outward
Once the film is positioned, I use a soft squeegee to push from the center toward the edges. This forces air out naturally instead of trapping it. I also wrap the squeegee in a thin cloth to avoid scratching the film surface.
If you’ve ever stayed up late worrying about whether your windows can actually protect your family, I get it. That worry is exactly why I grabbed the installation kit that finally made this process foolproof for me — it took all the guesswork out and gave me confidence every time.

- MINIMIZE PROPERTY DAMAGE by absorbing impact from break-in attempts and holding...
- PASSES ANSI Z97.1 CLASS B and CPSC CATEGORY 1 testing requirements. Increase...
- CRYSTAL CLEAR film with 99% UV REJECTION. Reduces fading of interior furnitures...
What I Look for When Buying Security Window Film
After all my trial and error, I’ve learned that not all security film is created equal. When I shop for a new roll, I focus on a few key things that make installation easier and results safer. Here’s what actually matters to me.
Adhesive Quality Matters More Than Thickness
The adhesive is what holds the glass together when something hits it. I always check reviews specifically about adhesion because cheap film tends to peel at the corners within months. My last roll had weak adhesive, and I had to redo two windows entirely.
Clarity and Distortion
Nobody wants wavy reflections on their windows. I hold the film up to the light before buying to see if it distorts images. Clear film should look invisible once installed, not like a funhouse mirror.
Easy Release Liner
The liner is the plastic backing you peel off before applying the film. If it’s hard to remove, you’ll fight with it and risk creasing the film. I look for brands that mention a smooth-release liner in the description.
UV Protection as a Bonus
Security film often blocks UV rays too, which protects your furniture from fading. I always check the UV rating because it’s a free perk that adds real value. My living room couch thanks me every summer.
The Mistake I See People Make With Security Window Film
The biggest mistake I see is trying to install film on a hot, sunny day. People think warm glass helps the adhesive stick, but it actually dries the slip solution too fast. Before you know it, the film grabs the glass mid-squeegee, and you’re left with a permanent air pocket.
I learned this the hard way on a July afternoon. The film wrinkled, the solution evaporated in seconds, and I spent an hour peeling it off and starting over. Now I only install film on overcast days or in the early morning when the glass is cool.
Another common error is using too much pressure with the squeegee. Pressing hard doesn’t push air out faster—it actually traps it by forcing the film down before the solution can escape. I use light, steady strokes and let the water carry the air out naturally.
If you’re tired of wasting money on film that bubbles no matter how careful you are, I completely understand that frustration. That’s exactly why I reached for the squeegee set that finally gave me clean results every time — it made the whole process feel effortless.
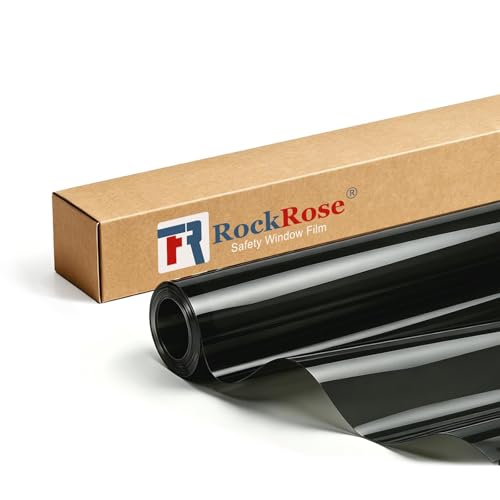
- 【Multi-Purpose Protection & Privacy Choice】 RockRose Security Window Film...
- 【Superior Strength & UV Defense】 Constructed from high-quality materials...
- 【Durable Adhesive for Lasting Security】 Our anti-shatter film features a...
The Trick That Changed How I Install Film Forever
Here is the one thing I wish someone had told me years ago: spray the film’s adhesive side with slip solution before peeling off the liner. Most people spray only the glass, but that’s backwards. The adhesive side needs lubrication too so it can slide freely while you position it.
When I started doing this, my air pocket problem basically vanished. The film glides into place like a dream, and I can adjust it without fear of it sticking prematurely. It also gives me extra time to work, which reduces my stress and my mistakes.
Another simple trick is to tape the top edge of the film to the glass before you start squeegeeing. This anchors it so it doesn’t shift while you work. Once the top is secure, you can focus on pushing air out from the center without worrying about the film sliding around.
These two adjustments took my installation from frustrating to almost relaxing. I honestly look forward to putting up film now, and that’s something I never thought I’d say.
My Top Picks for Preventing Air Pockets in Security Window Film
I’ve tested a handful of films over the years, and these two are the ones I actually trust for a smooth, bubble-free install. Both have easy-release liners and adhesive that grabs evenly, which makes all the difference.
Buydecorativefilm BDF S8MC Window Film Security 8 Mil Clear — Thick Protection That Still Installs Smoothly
I love the Buydecorativefilm BDF S8MC because it’s a solid 8 mil thick, yet the liner peels off effortlessly. It’s perfect for ground-level windows where you need real break-in protection. The only trade-off is that it’s a bit stiff to handle, so take your time with the slip solution.
- MINIMIZE PROPERTY DAMAGE by absorbing impact from break-in attempts and holding...
- PASSES ANSI Z97.1 CLASS B and CPSC CATEGORY 1 testing requirements. Increase...
- CRYSTAL CLEAR film with 99% UV REJECTION. Reduces fading of interior furnitures...
Queenbox 3M/10FT Clear Safety and Security Window Film — The Easiest Install I’ve Ever Done
The Queenbox 3M/10FT film is my go-to for larger windows because it’s surprisingly forgiving. I love how it slides into place without grabbing too fast, which practically eliminates air pockets. It’s ideal for beginners or anyone who’s been burned by stubborn film before, and the only downside is it’s not as thick as the Buydecorativefilm option.

- Note:Instructions Pls Reference 2nd Picture Or Below Product Descriptions...
- Width x Length : 50 x 300cm (20 x 118 inch ); Minimize property damage by...
- Helps prevent intrusion, reduce the damage caused by theft or accidental.
Conclusion
The secret to bubble-free security film is slowing down, prepping your glass, and using plenty of slip solution. It’s a simple habit that saves you time, money, and a whole lot of frustration.
Grab a spray bottle, mix up some soapy water, and test your technique on a small bathroom window tonight—it takes twenty minutes and you’ll see the difference immediately.
Frequently Asked Questions about How Do I Prevent Air Pockets when Moving Security Window Film?
Why do air pockets keep appearing even when I use a squeegee?
Air pockets usually appear because the glass wasn’t cleaned thoroughly before installation. Even a tiny speck of dust or grease creates a bump that traps air underneath the film. I always wipe the glass with a razor scraper and soapy water before anything else.
Another culprit is using too much pressure too quickly. When you press hard right away, the film seals around the air instead of letting the water push it out. Try lighter, slower strokes from the center outward to give the air time to escape.
Can I fix an air pocket after the film is already dry?
Once the film is fully dried, usually after 24 to 48 hours, fixing a bubble is much harder. You can try using a pin to puncture the bubble and then press the air out with a squeegee. This works for small pockets, but it leaves a tiny visible mark.
For larger air pockets, your best bet is to peel the film back carefully and reapply it with fresh slip solution. It’s risky because the adhesive may have already set, but it’s worth trying before you give up on the whole sheet.
What is the best security window film for someone who needs to install it without professional help?
If you’re a first-timer, you want a film that’s forgiving and easy to slide into place. I always recommend the film that made my first install stress-free because it has a smooth release liner and adhesive that doesn’t grab too fast. That extra working time is a lifesaver when you’re learning.
Your concern about DIY installation is completely valid because most bubbles come from rushing. A more forgiving film gives you the margin for error that beginners desperately need. Once you’ve done one window successfully, the rest feel easy.

- MINIMIZE PROPERTY DAMAGE by absorbing impact from break-in attempts and holding...
- EXCELLENT UV REJECTION. Reduces fading of interior furnitures caused by the sun...
- STRONG ADHESIVE protected by release liner. For easier installation, use A LOT...
How long does security window film take to dry completely?
Most security films take about 24 to 48 hours to dry fully, but thicker films like 8 mil can take up to a week. During that time, you’ll notice small water streaks and maybe a few tiny bubbles that disappear as the moisture evaporates. Don’t panic if it doesn’t look perfect on day one.
Keep the film away from direct sunlight and don’t clean the windows for at least a week. If you touch or wipe it too early, you risk shifting the film and creating new air pockets. Patience here is the key to a flawless finish.
Which security window film won’t let me down when I have kids throwing balls near the glass?
With active kids, you need a thicker film that can absorb impact without peeling at the edges. I trust the one I bought for my own living room windows because it’s held up against stray baseballs and rough play for over a year. The adhesive stays firm even after repeated hits.
Your worry about durability is totally fair because thin films tear easily under pressure. A thicker option gives you peace of mind knowing the glass stays intact if a toy goes flying. It’s a small investment for a lot of family safety.
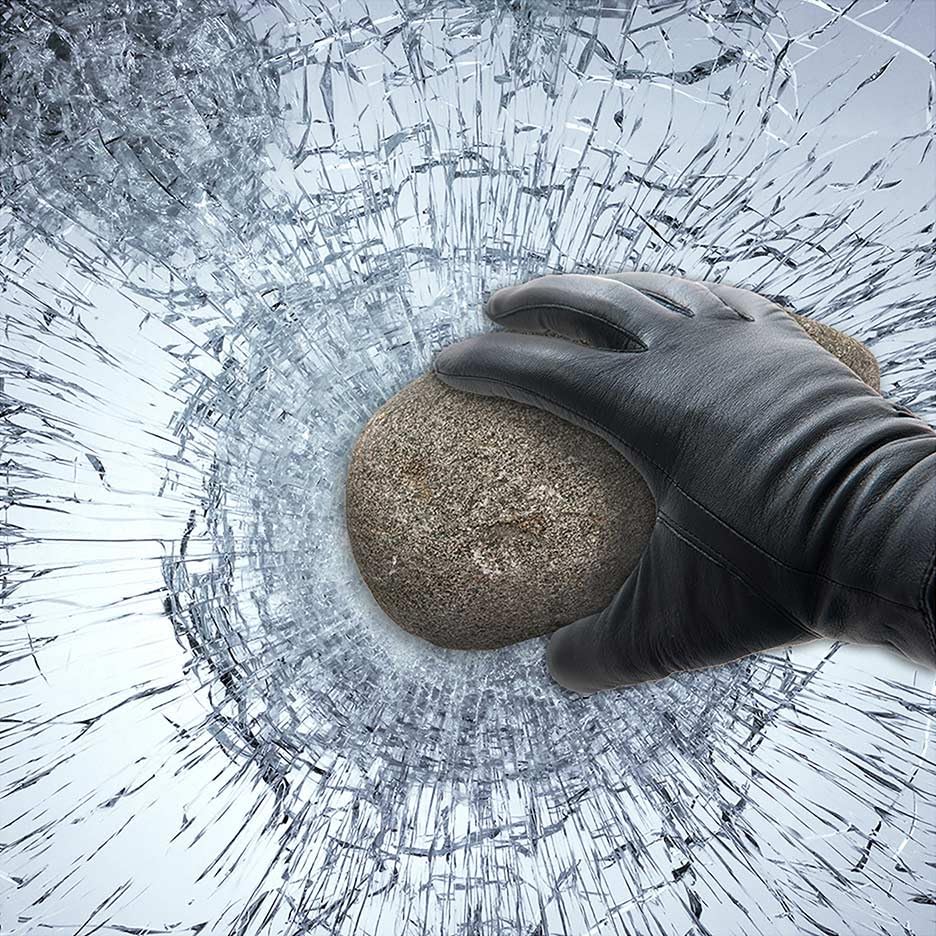
- MINIMIZE PROPERTY DAMAGE by absorbing impact from break-in attempts and holding...
- PASSES ANSI Z97.1 CLASS B and CPSC CATEGORY 1 testing requirements. Increase...
- CRYSTAL CLEAR film with 99% UV REJECTION. Reduces fading of interior furnitures...
Does temperature affect how the film adheres to the glass?
Yes, temperature plays a huge role in how well the film bonds. Hot glass dries the slip solution too quickly, which causes the film to grab prematurely and trap air. Cold glass makes the adhesive stiff and harder to work with, so you end up with creases instead of bubbles.
I always install film in the early morning or on an overcast day when the glass is cool to the touch. This gives me plenty of working time and ensures the adhesive cures evenly. Checking the forecast before you start is a simple step that prevents a lot of headaches.